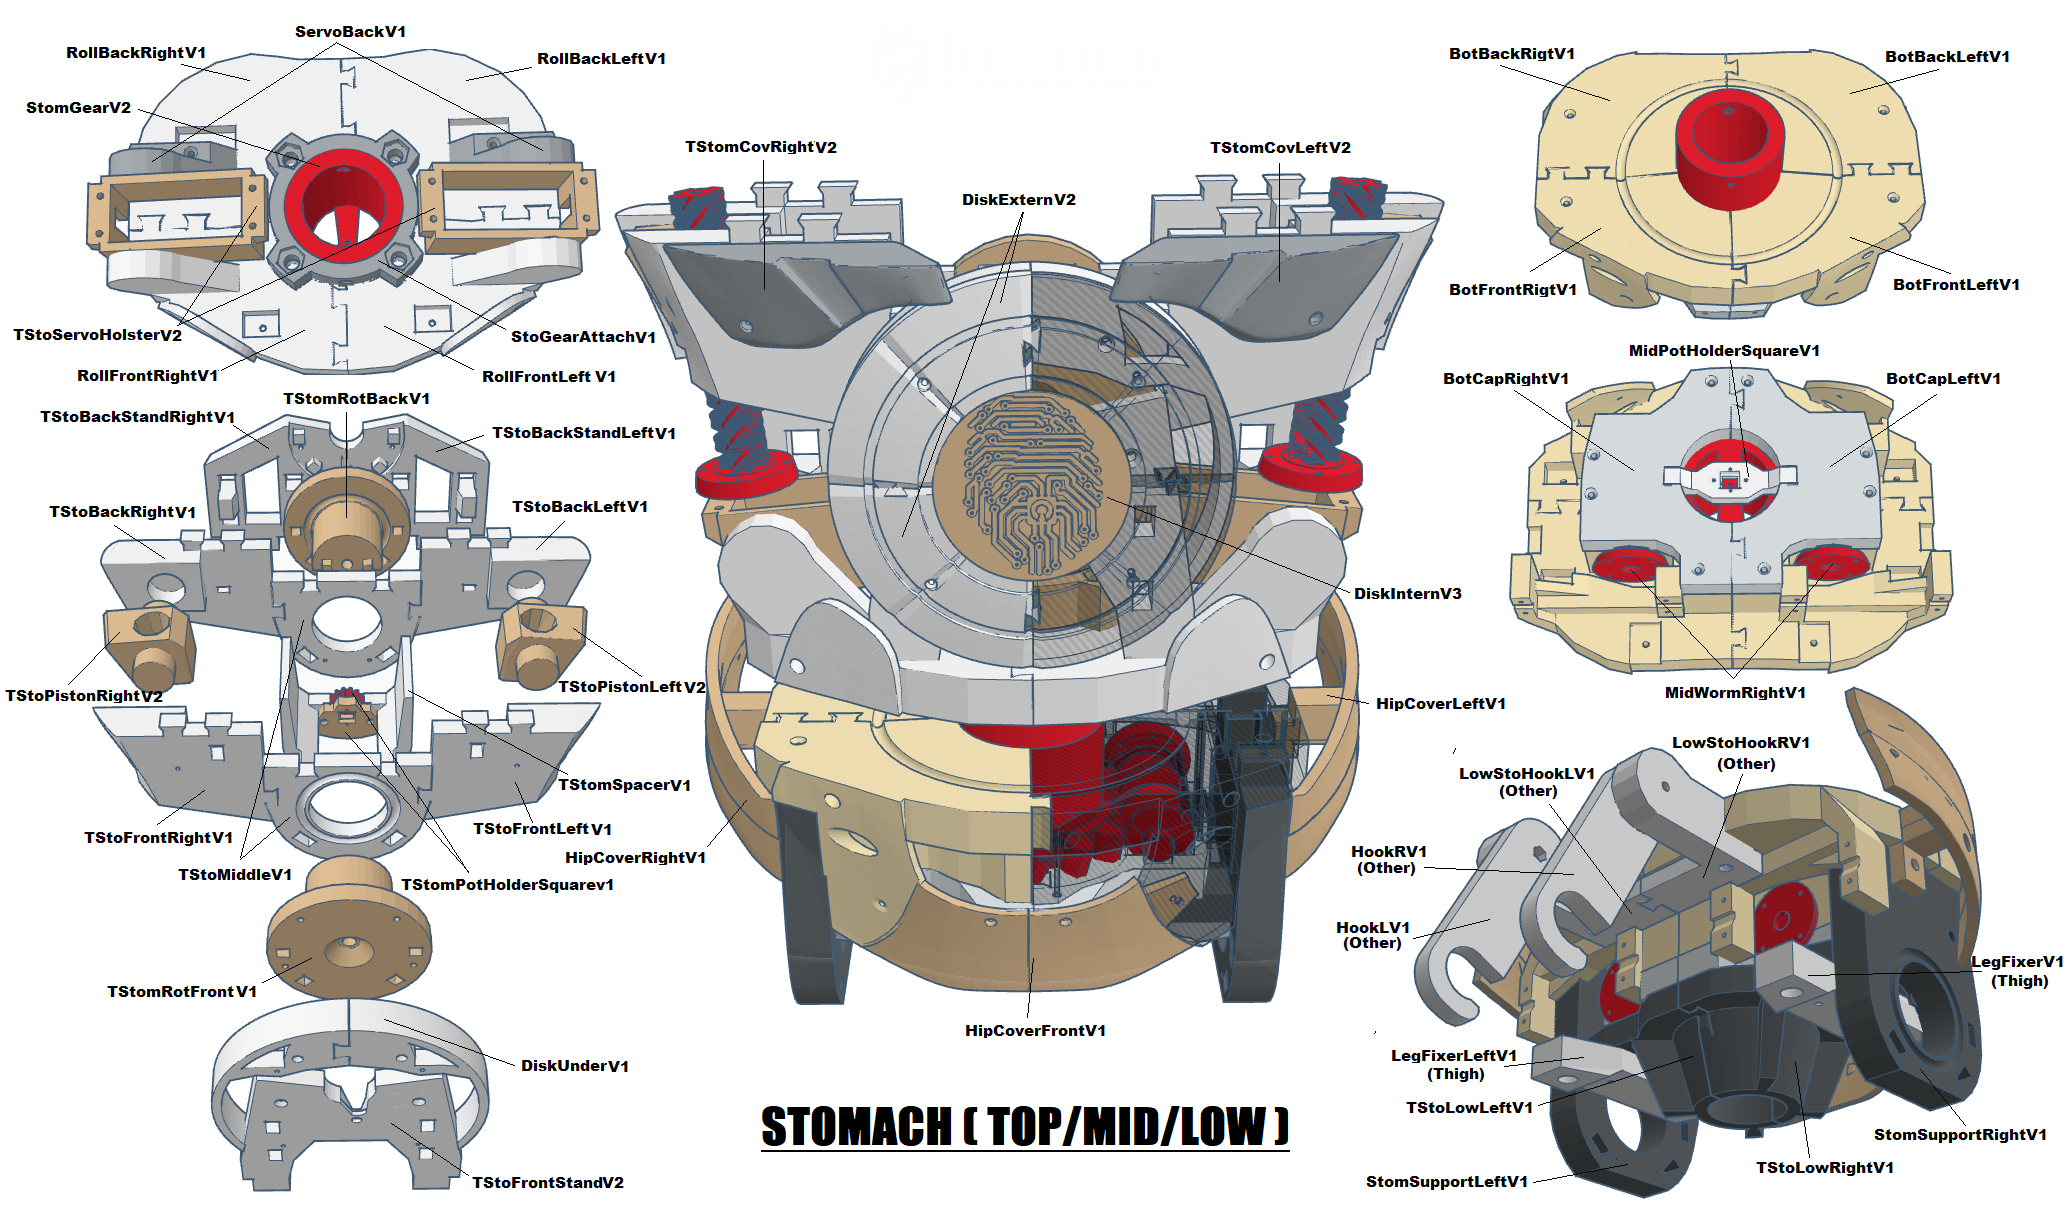
Mid Stomach
While printing the parts an infill of 30%, wall thickness 2mm, best with no support (unless specified), use a brim for big parts to avoid warping.
You will need to print all these parts at a good resolution, make sure that the part is selected depending upon the camera choice and I have uploaded .stl files of two types so better once go through according to your requirements.
Parts to Print -
- 1x BotBackLeft
- 1x BotBackRigt
- 1x BotCapLeft
- 1x BotCapRight
- 1x BotFrontLeft
- 1x BotFrontRigt
- 1x HipCoverFront
- 1x HipCoverLeft
- 1x HipCoverRight
- 1x MidPotHolder
- 2x MidWormRight
Steps -
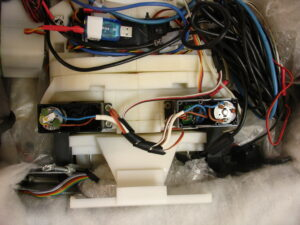
You will need 2 servos which needs to be hacked. Both motor servos will be using only one servo board and one potentiometer, this way both motors will be synchronized when rotating.
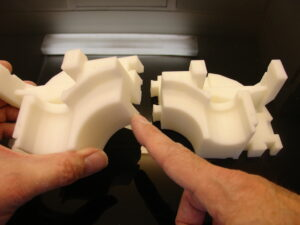
Assemble together BotBackLeftV1, BotBackRigtV1, BotFrontLeftV1, BotFrontRigtV1
It is best to glue them together laying on a flat surface
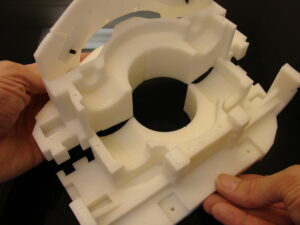
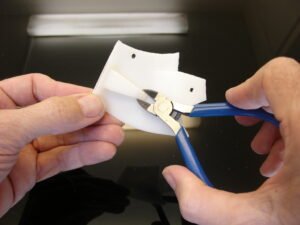
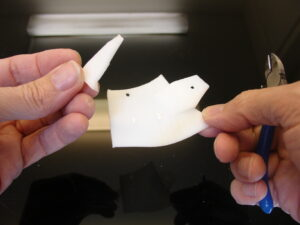
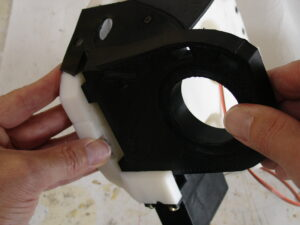
Cut off the pre-support on the HipCoverFrontV1
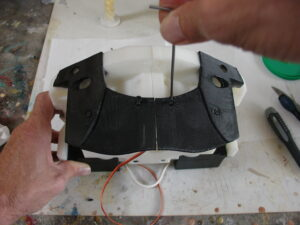
Mount with 3mm screws the HipCoverFrontV1.stl to your assembly. In my case I sprayed the black parts with car aerosol mat finish paint using masking tape.
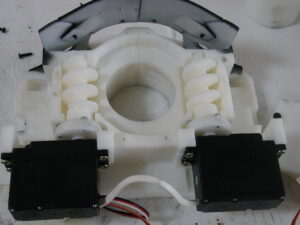
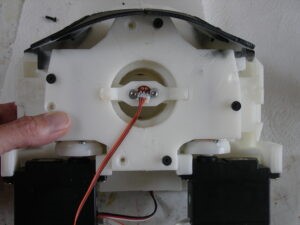
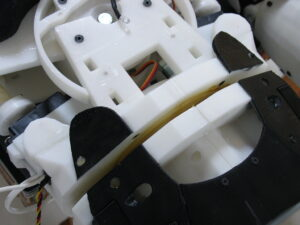
Mount the two MidWormRightV1 to the servo horns with screws. Fit the servos on your assembly using wood screws.
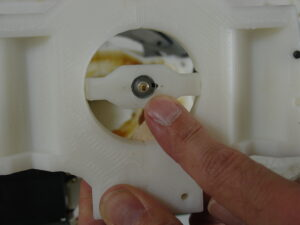
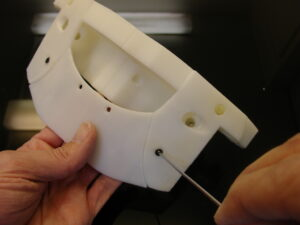
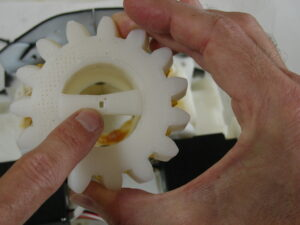
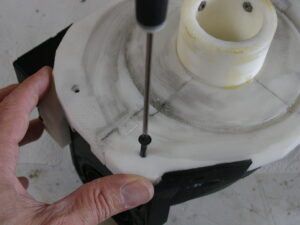
Check the potentiometer hole on StomGear and position it as shown.
Make it go all the way through your assembly.
here also the two servos need to be hacked for continuous rotation and the tutorial is mention already , repeat the same method.
Mount the potentiometer on MidPotHolderV1, respecting the small metal positioner. Glue MidPotHolderV1 to the BotCap

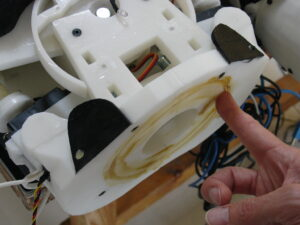
Set the BotCap assembly on the main assembly.
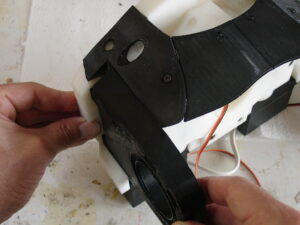
Mount TStoLowLeftV1 and TStoLowRightV1 to your main assembly.

Using a clamp to press fit will ease the job.
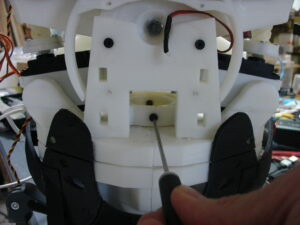
Add 4mm screws, making sure the screw head is well sinking into the part. Otherwise it will restrain rotation between TopStomach and MidStomach.
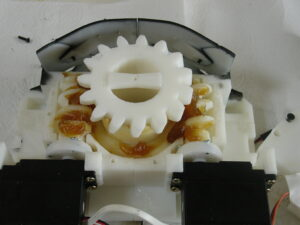
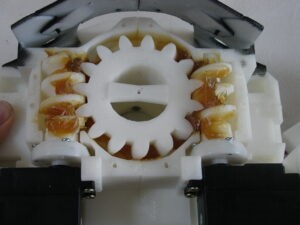
Apply grease on the flat bed of TopStomach as well. Fit in the StomGear to assemble TopStomach and MidStomach together.
Adjust the bolts to make sure TopStomach and MidStomach are well tight. But don’t overtight because we want to keep these parts some freedom for rotation. Time now to run some script test to see if all is set in order.