Eye Mechanism
While printing the parts an infill of 30%, wall thickness 2mm, best with no support (unless specified), use a brim for big parts to avoid warping.
You will need to print all these parts at a good resolution, make sure that the part is selected depending upon the camera choice and I have uploaded .stl files of two types so better once go through according to your requirements.
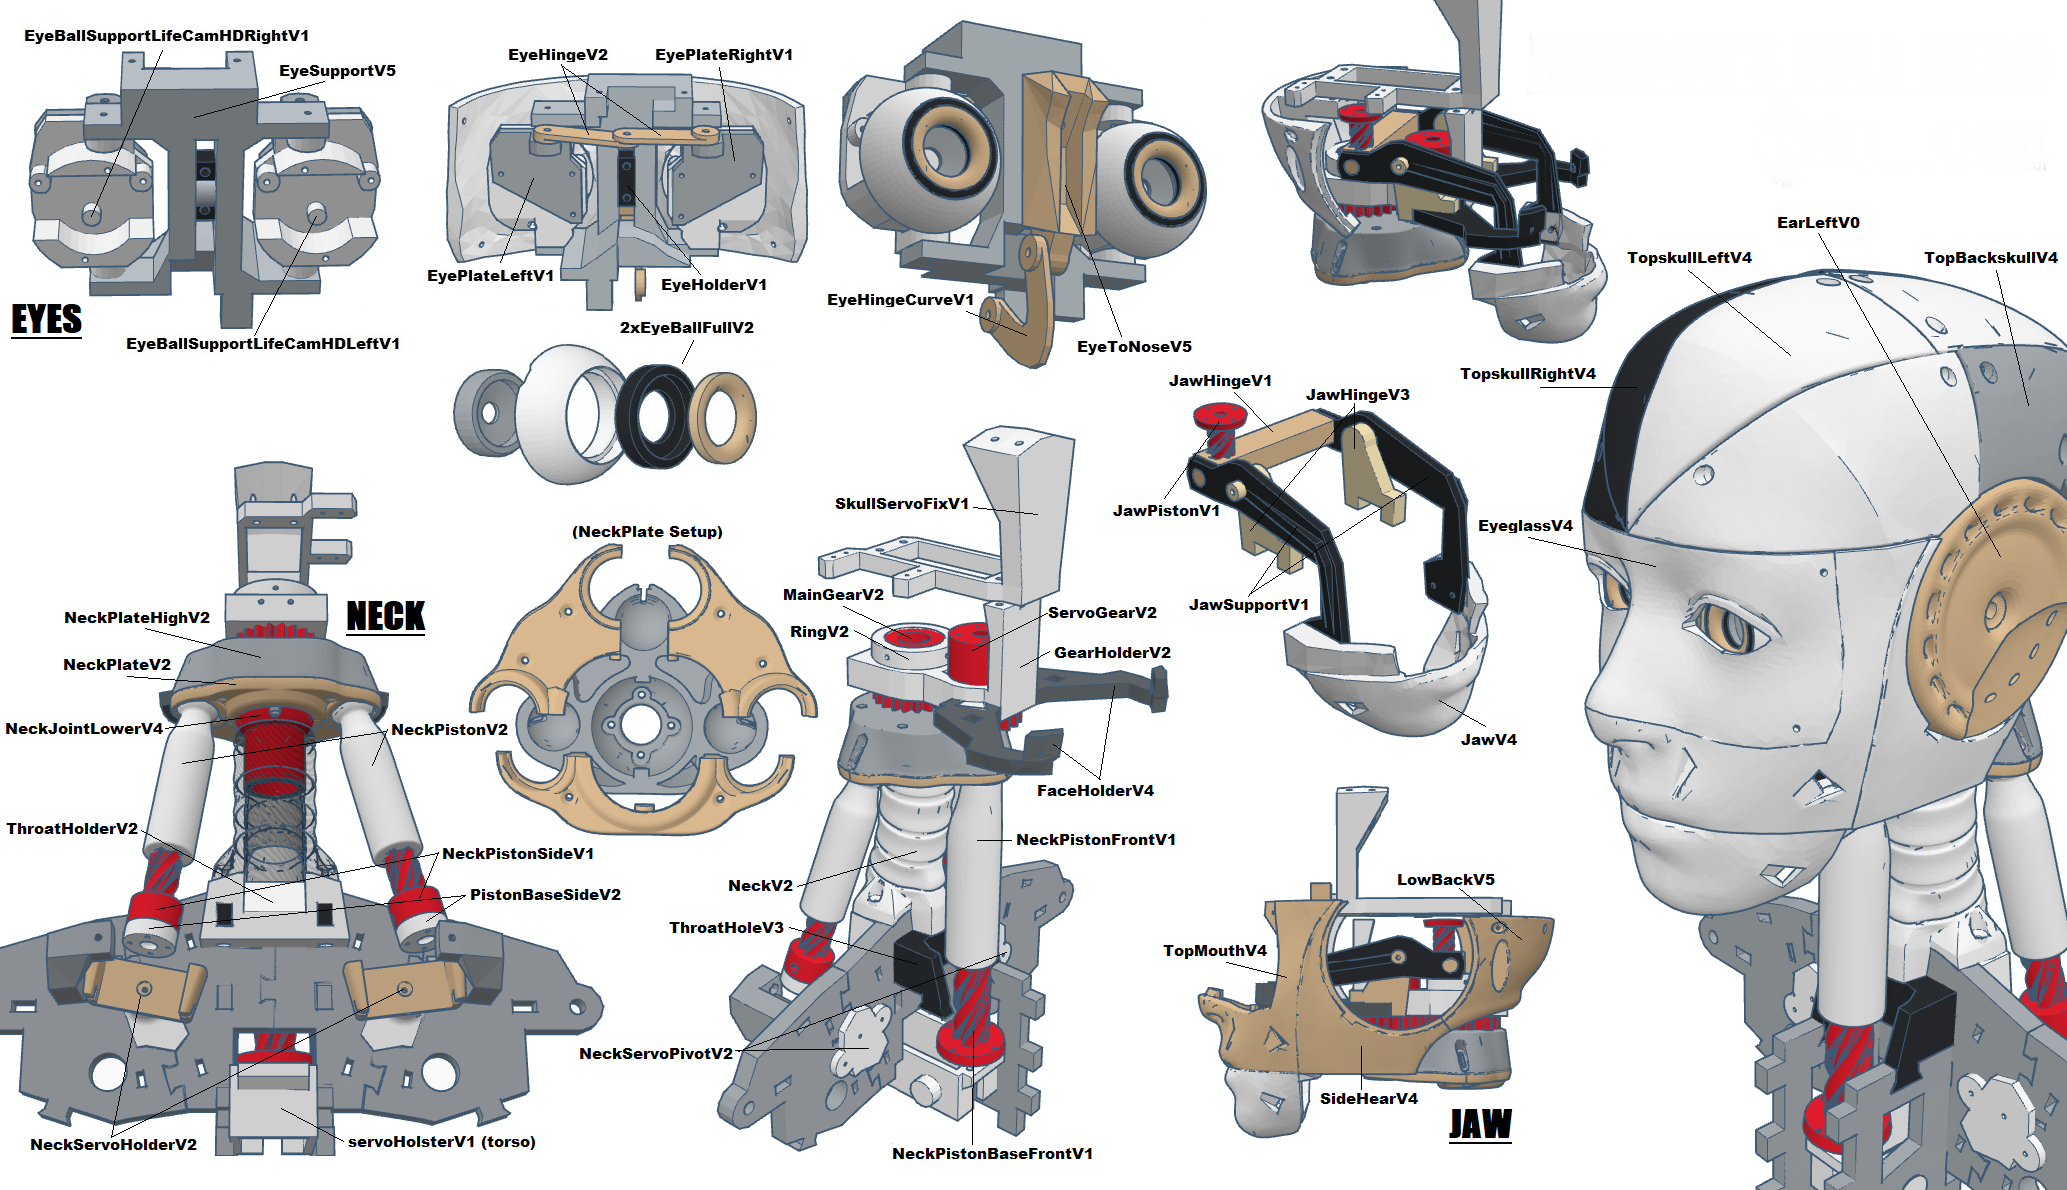
Parts to Print -
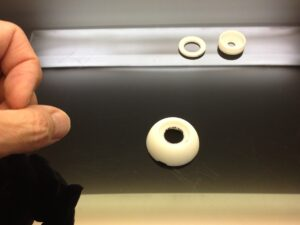
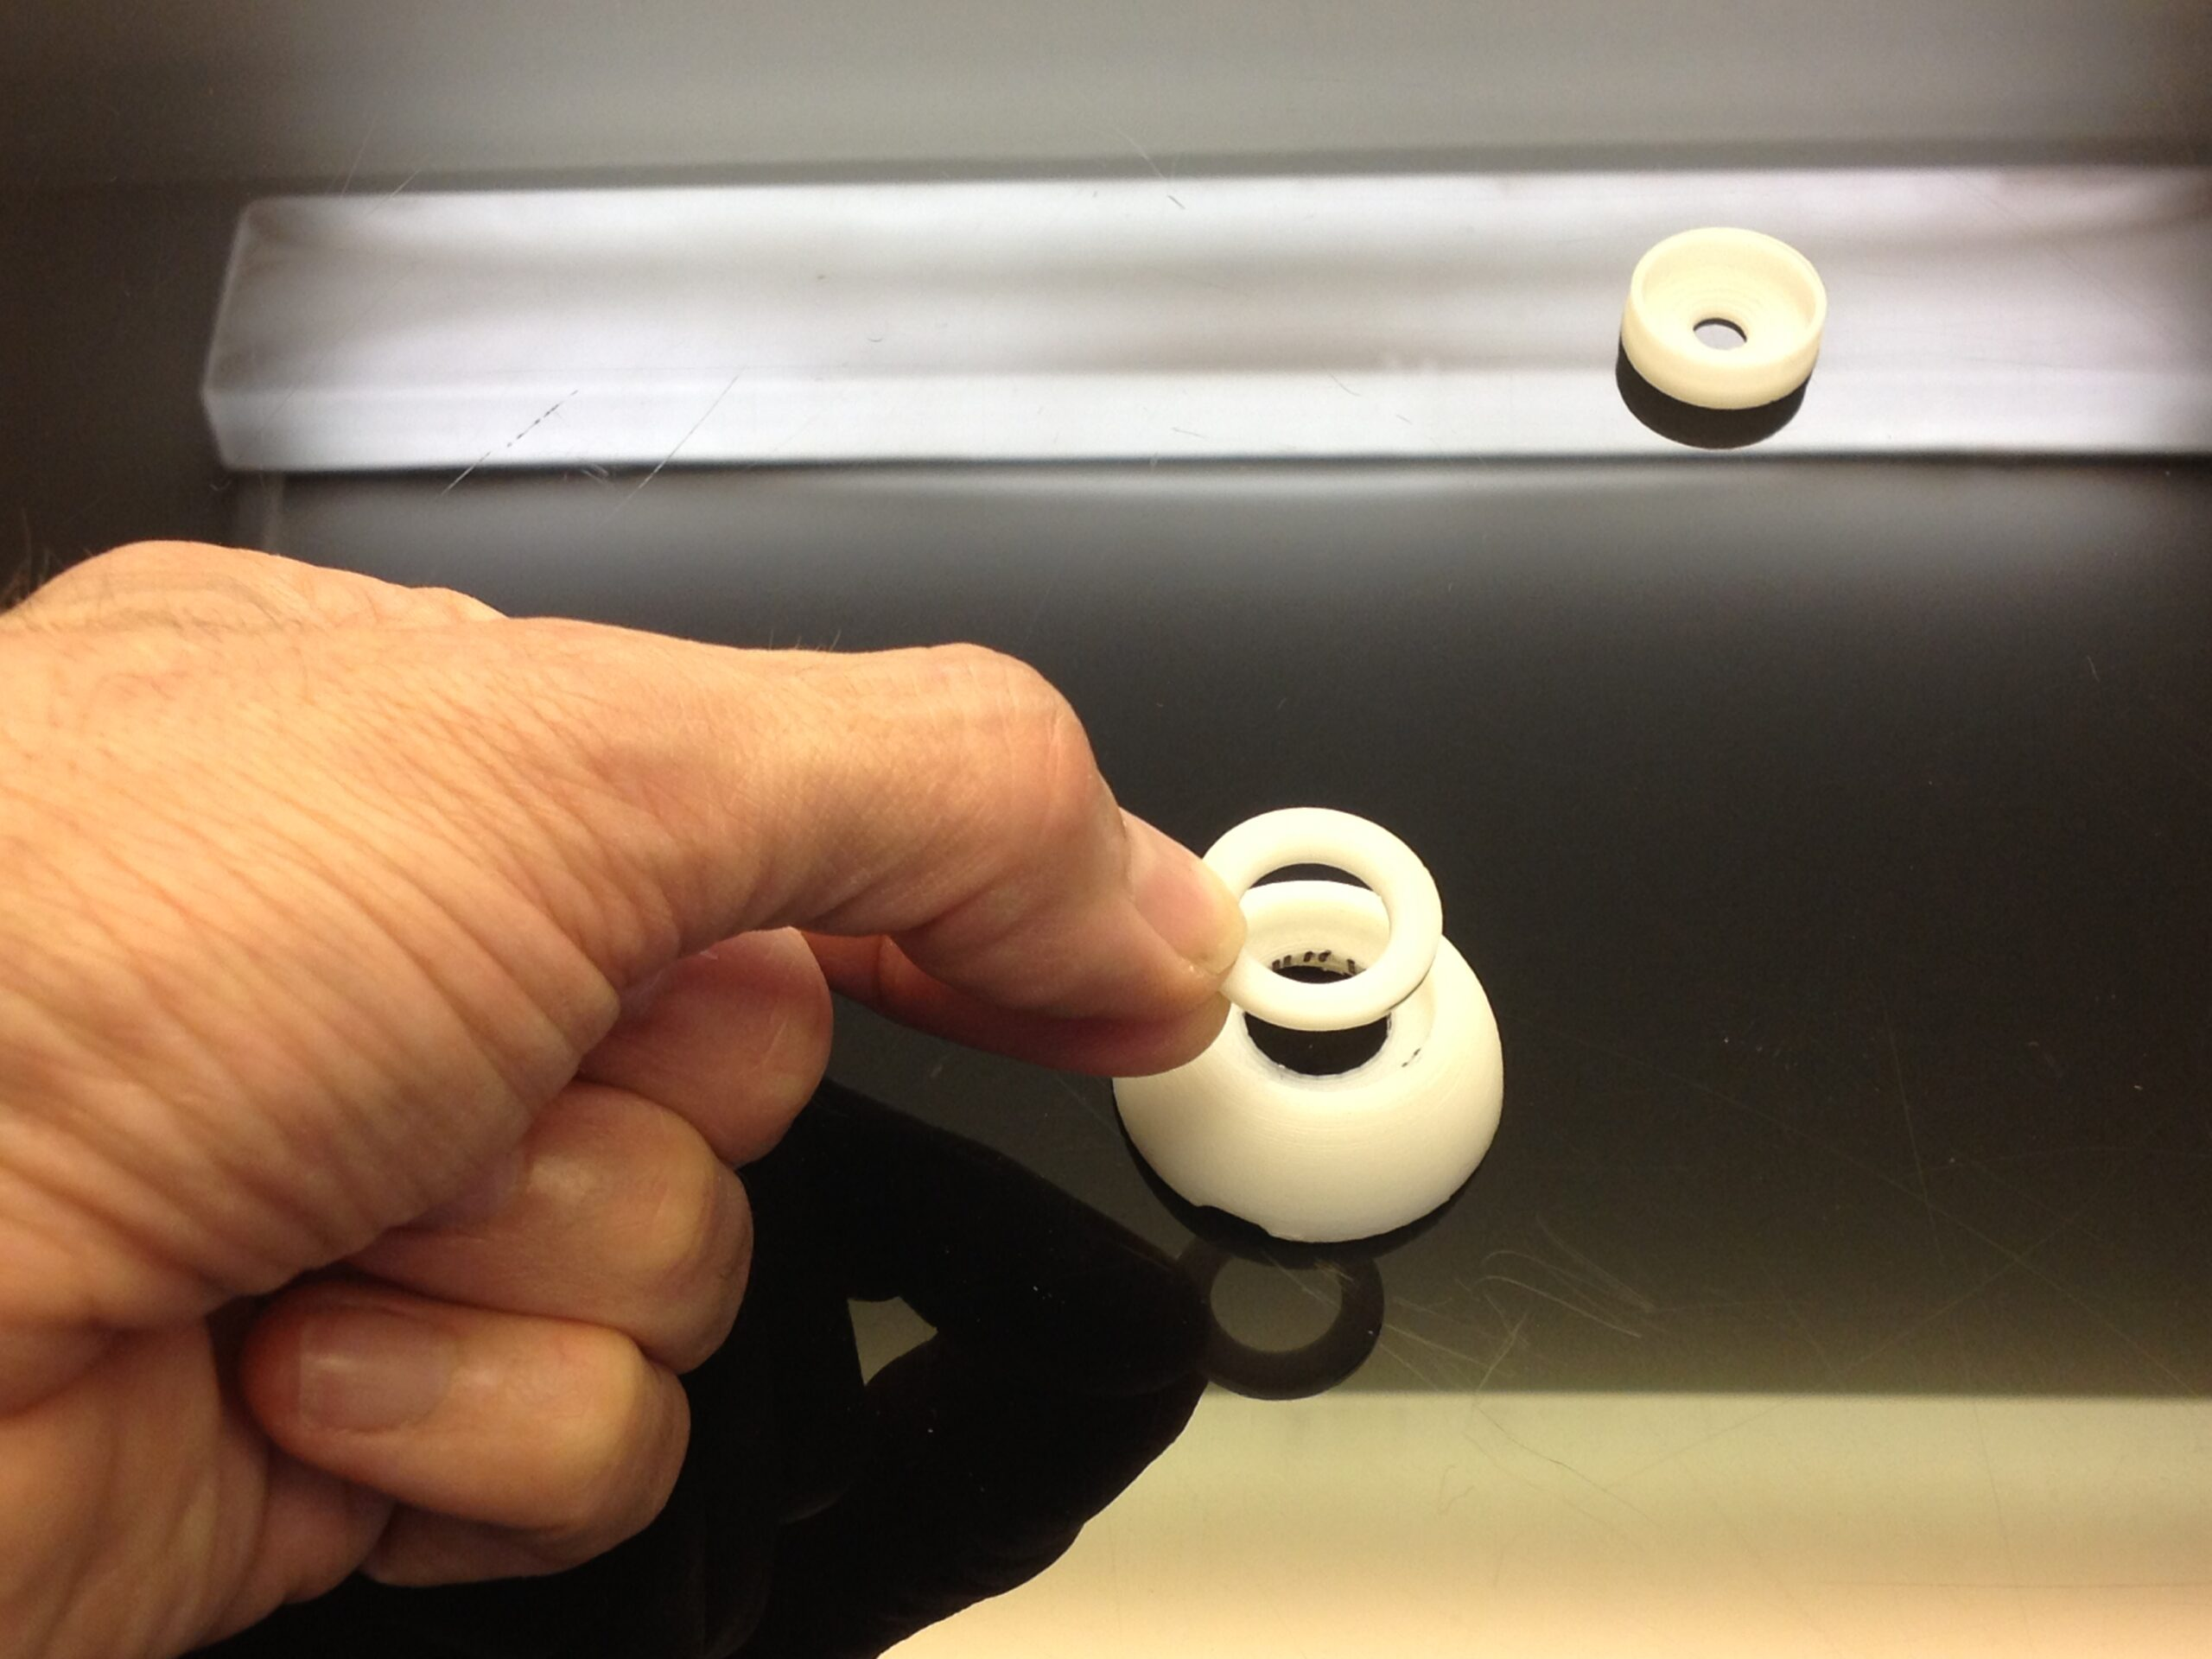
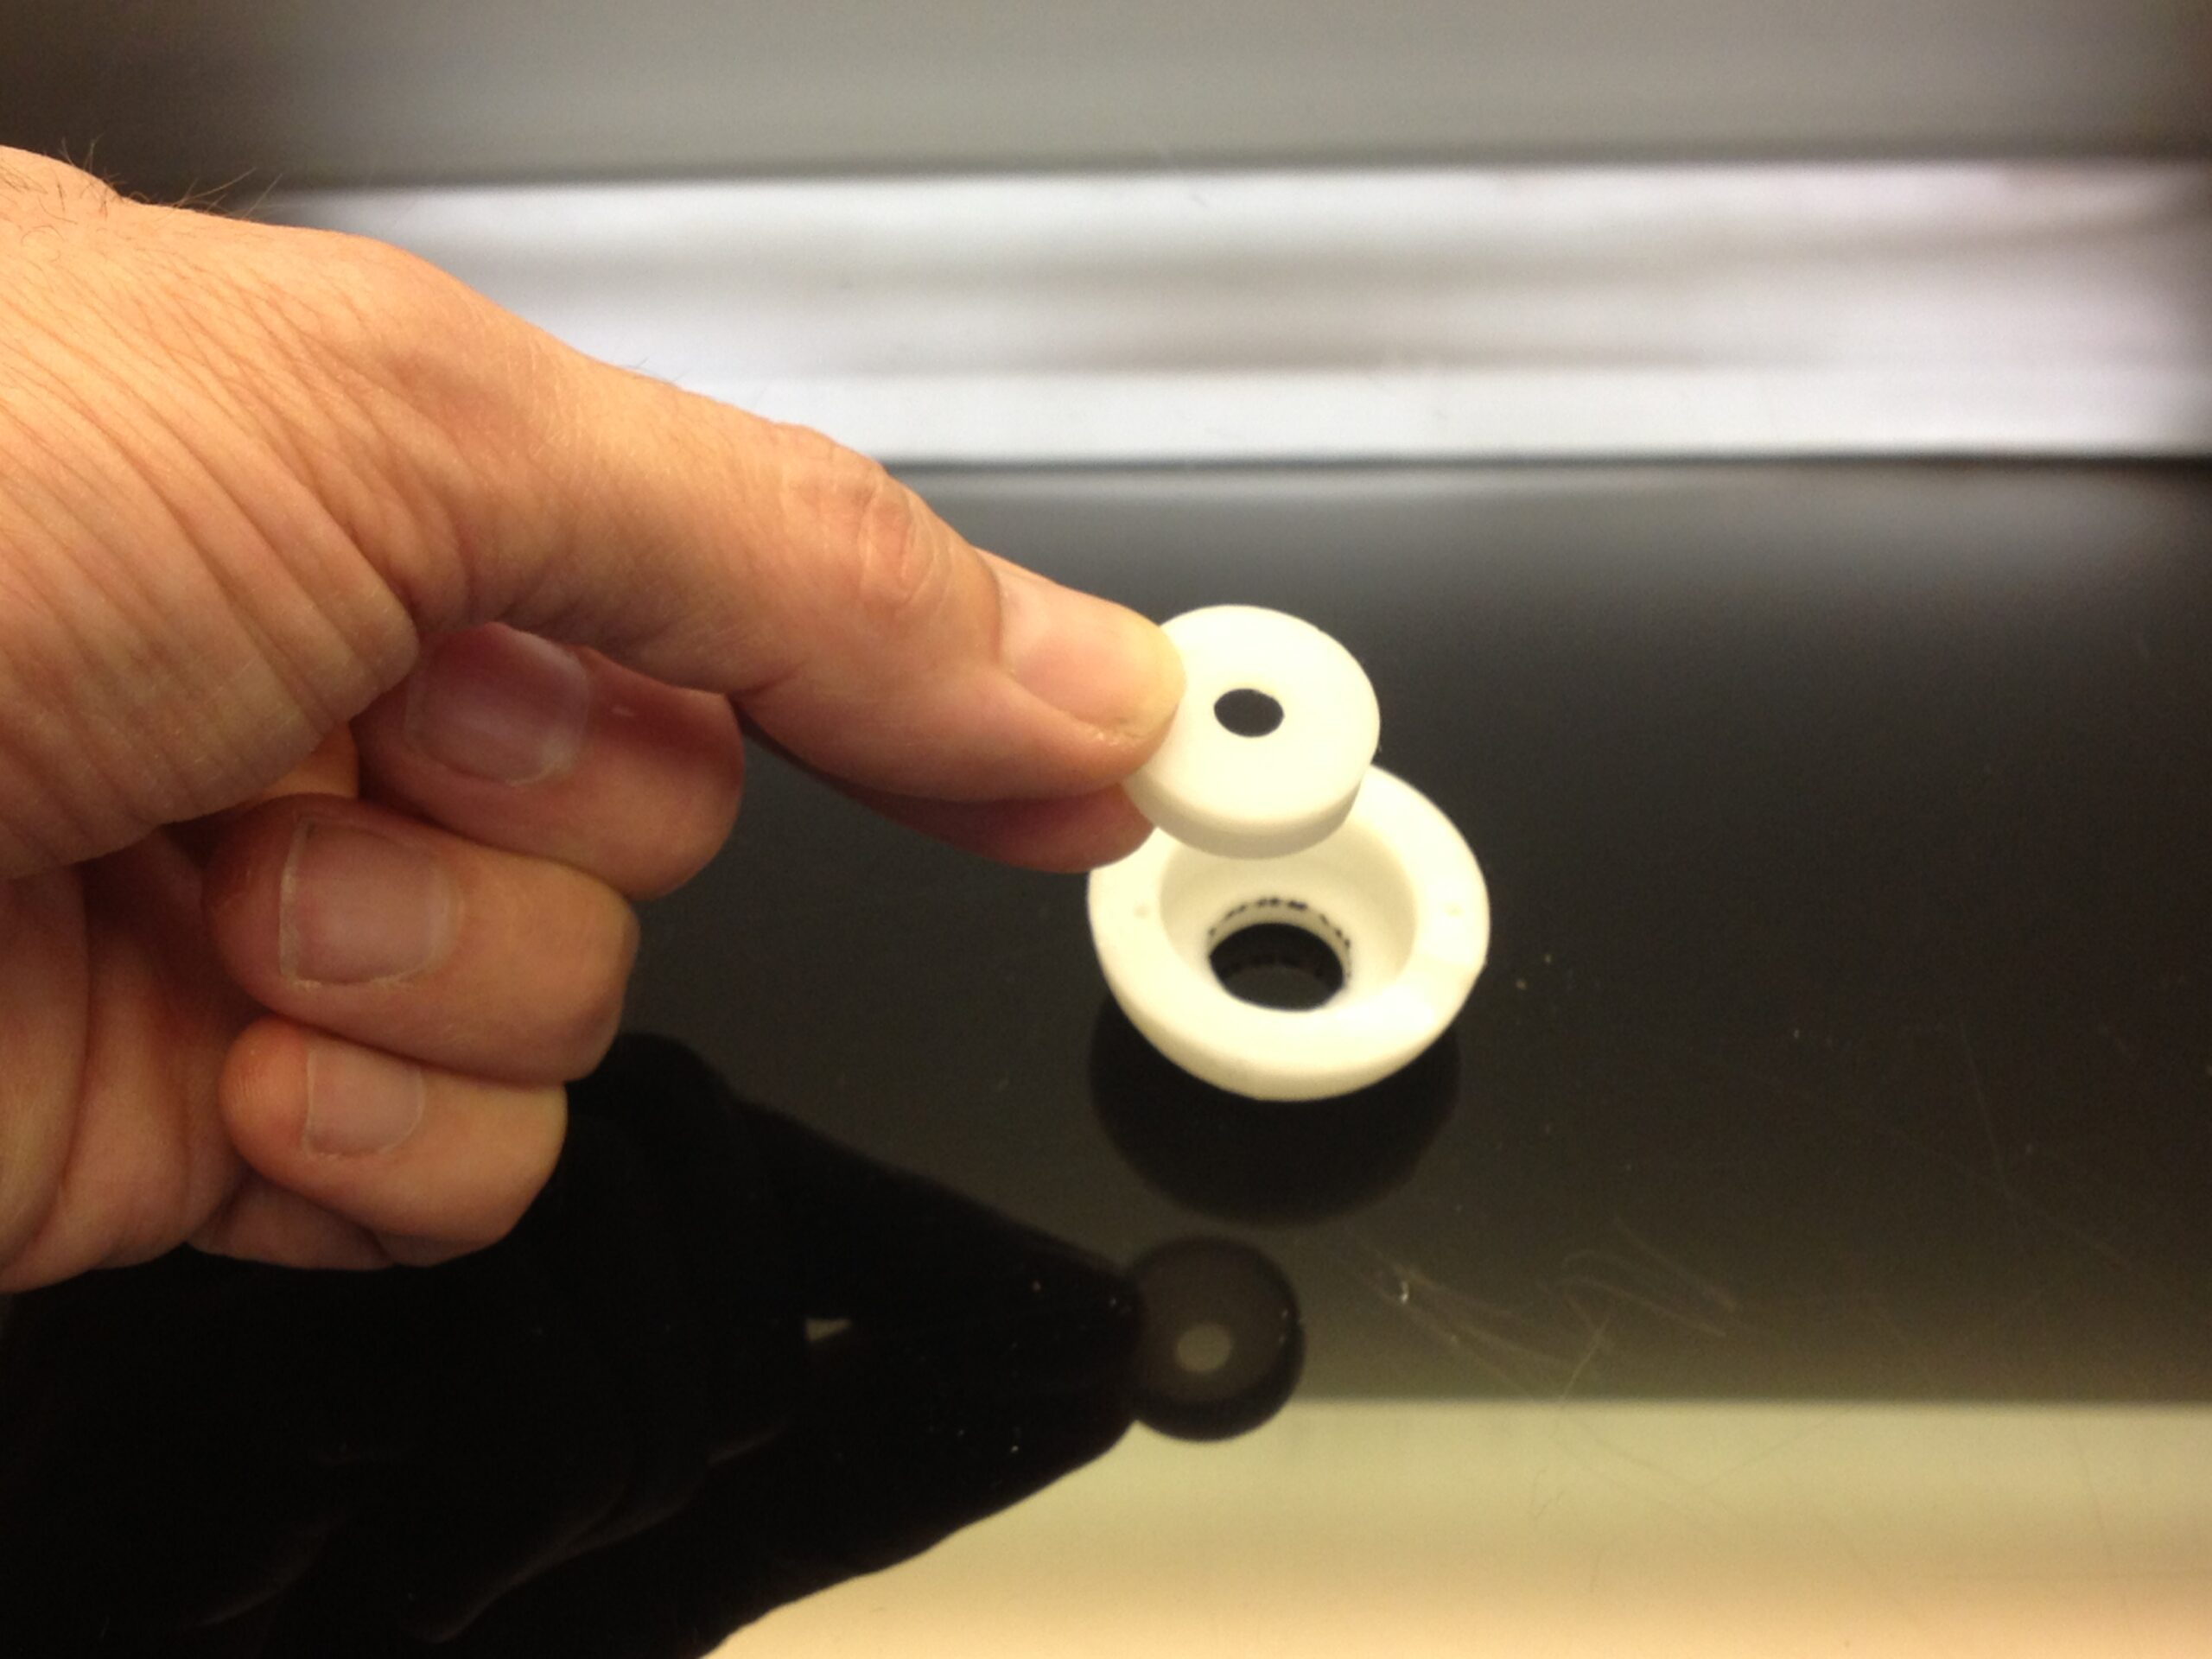
- 1x2xEyeBallFullV2
- 1xEyeHingeCurve
- 2xEyeHinge
- 1xEyeHolder
- 1xEyePlateLeft
- 1xEyePlateRight
- 1x EyeSupport (print with support)
- 1xEyeTo Nose
Depending on your camera choice, print:
- EyeBallSupportHerculeLeft
- EyeBallSupportHerculeRight
- EyeBallSupportLifeCamHDLeft
- EyeBallSupportLifeCamHDRight

Step 1:

Redrill all the holes on EyeToNose with a 2,5mm drill
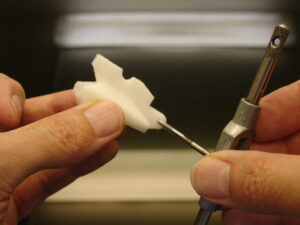
Tab all holes with a tab of 3mm diameter
Glue, with acetone if you have ABS prints or Epoxy for PLA, Eye To Nose to EyeGlass
Insert and mount four screws of 3mm. You can add bolts as shown to secure them. Eye Glass.
Adjust the cameras like this, we have used the webcam and its up to you which type you want to use.
Keep in mind this design is for circled camera
Step 2:
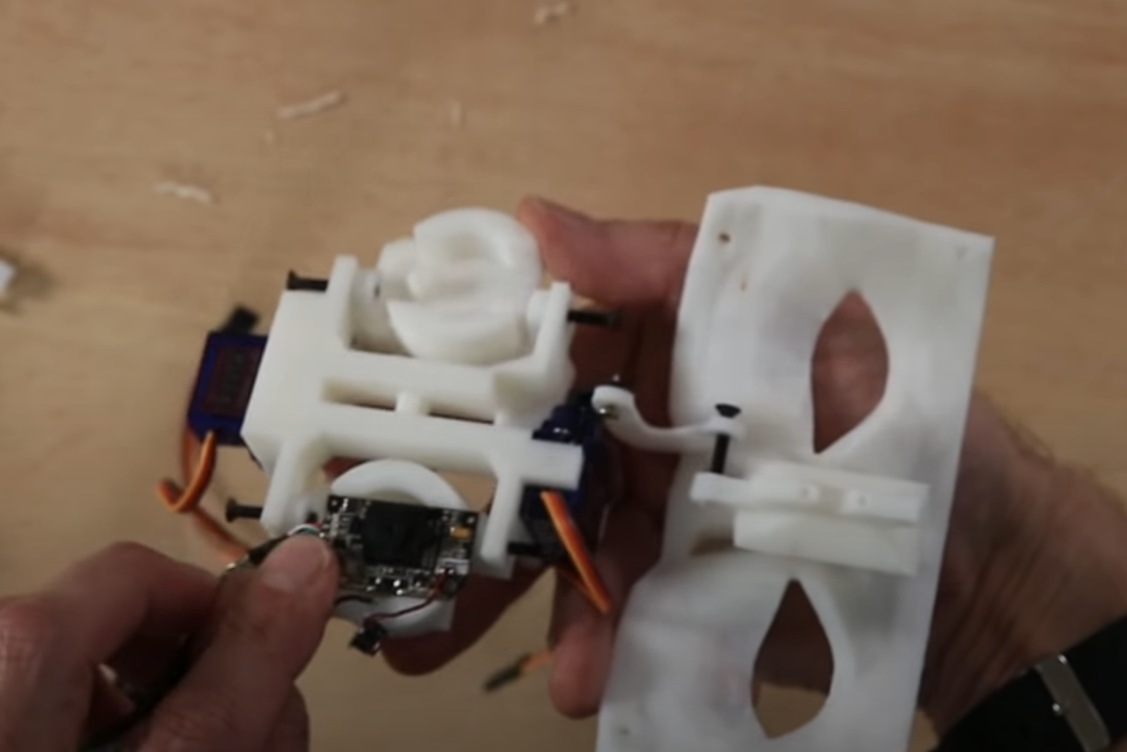
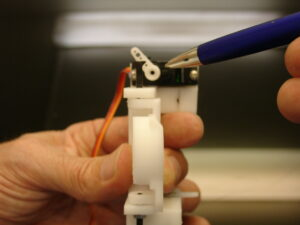
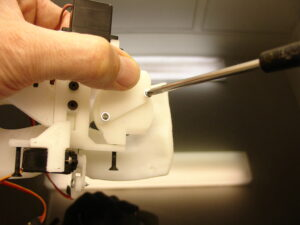
Mount the MG990 servo which comes with screws.
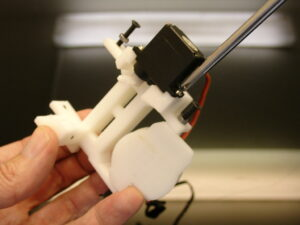
Set the servo at 0 degree with the horn set as shown.

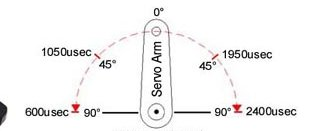
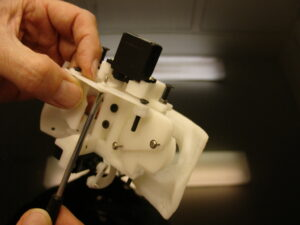
Mount the second MG990 and set the servo at 0 degree ensuring the angle of horn similar to 45 degree.
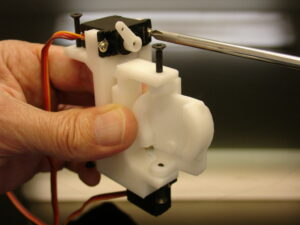
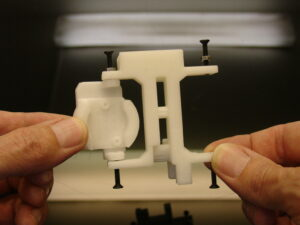
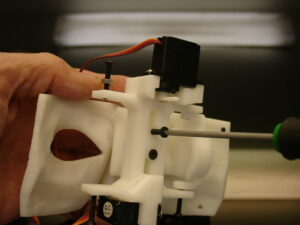
Add Eye Holder with two screws of 3mm diameter And fix the mechanism to Eye to Nose. Once mounted it should be able to rotate freely on its shaft.
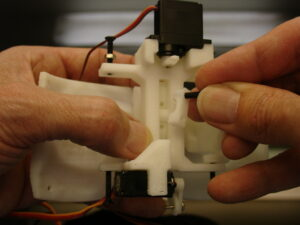
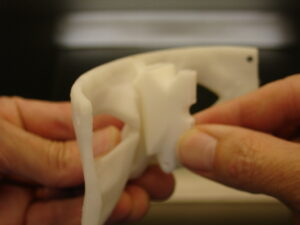
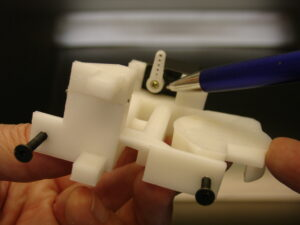
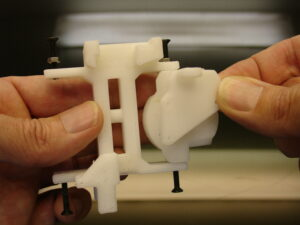
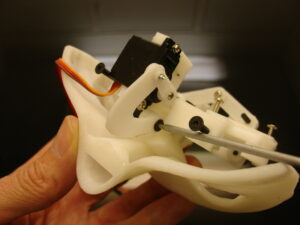
Add on the back of Eye Ball Support the Eye Plates. You can either glue them or screw them.
Step 3:
Now we are going to create some realistic eyes with a few simple steps.
Unmount the mechanism by unscrewing the two screws of EyeToNose to have access to the front of the eyes.

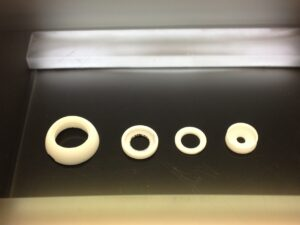

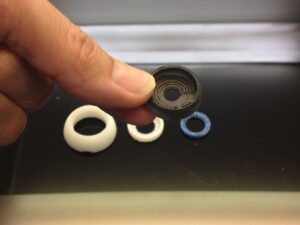
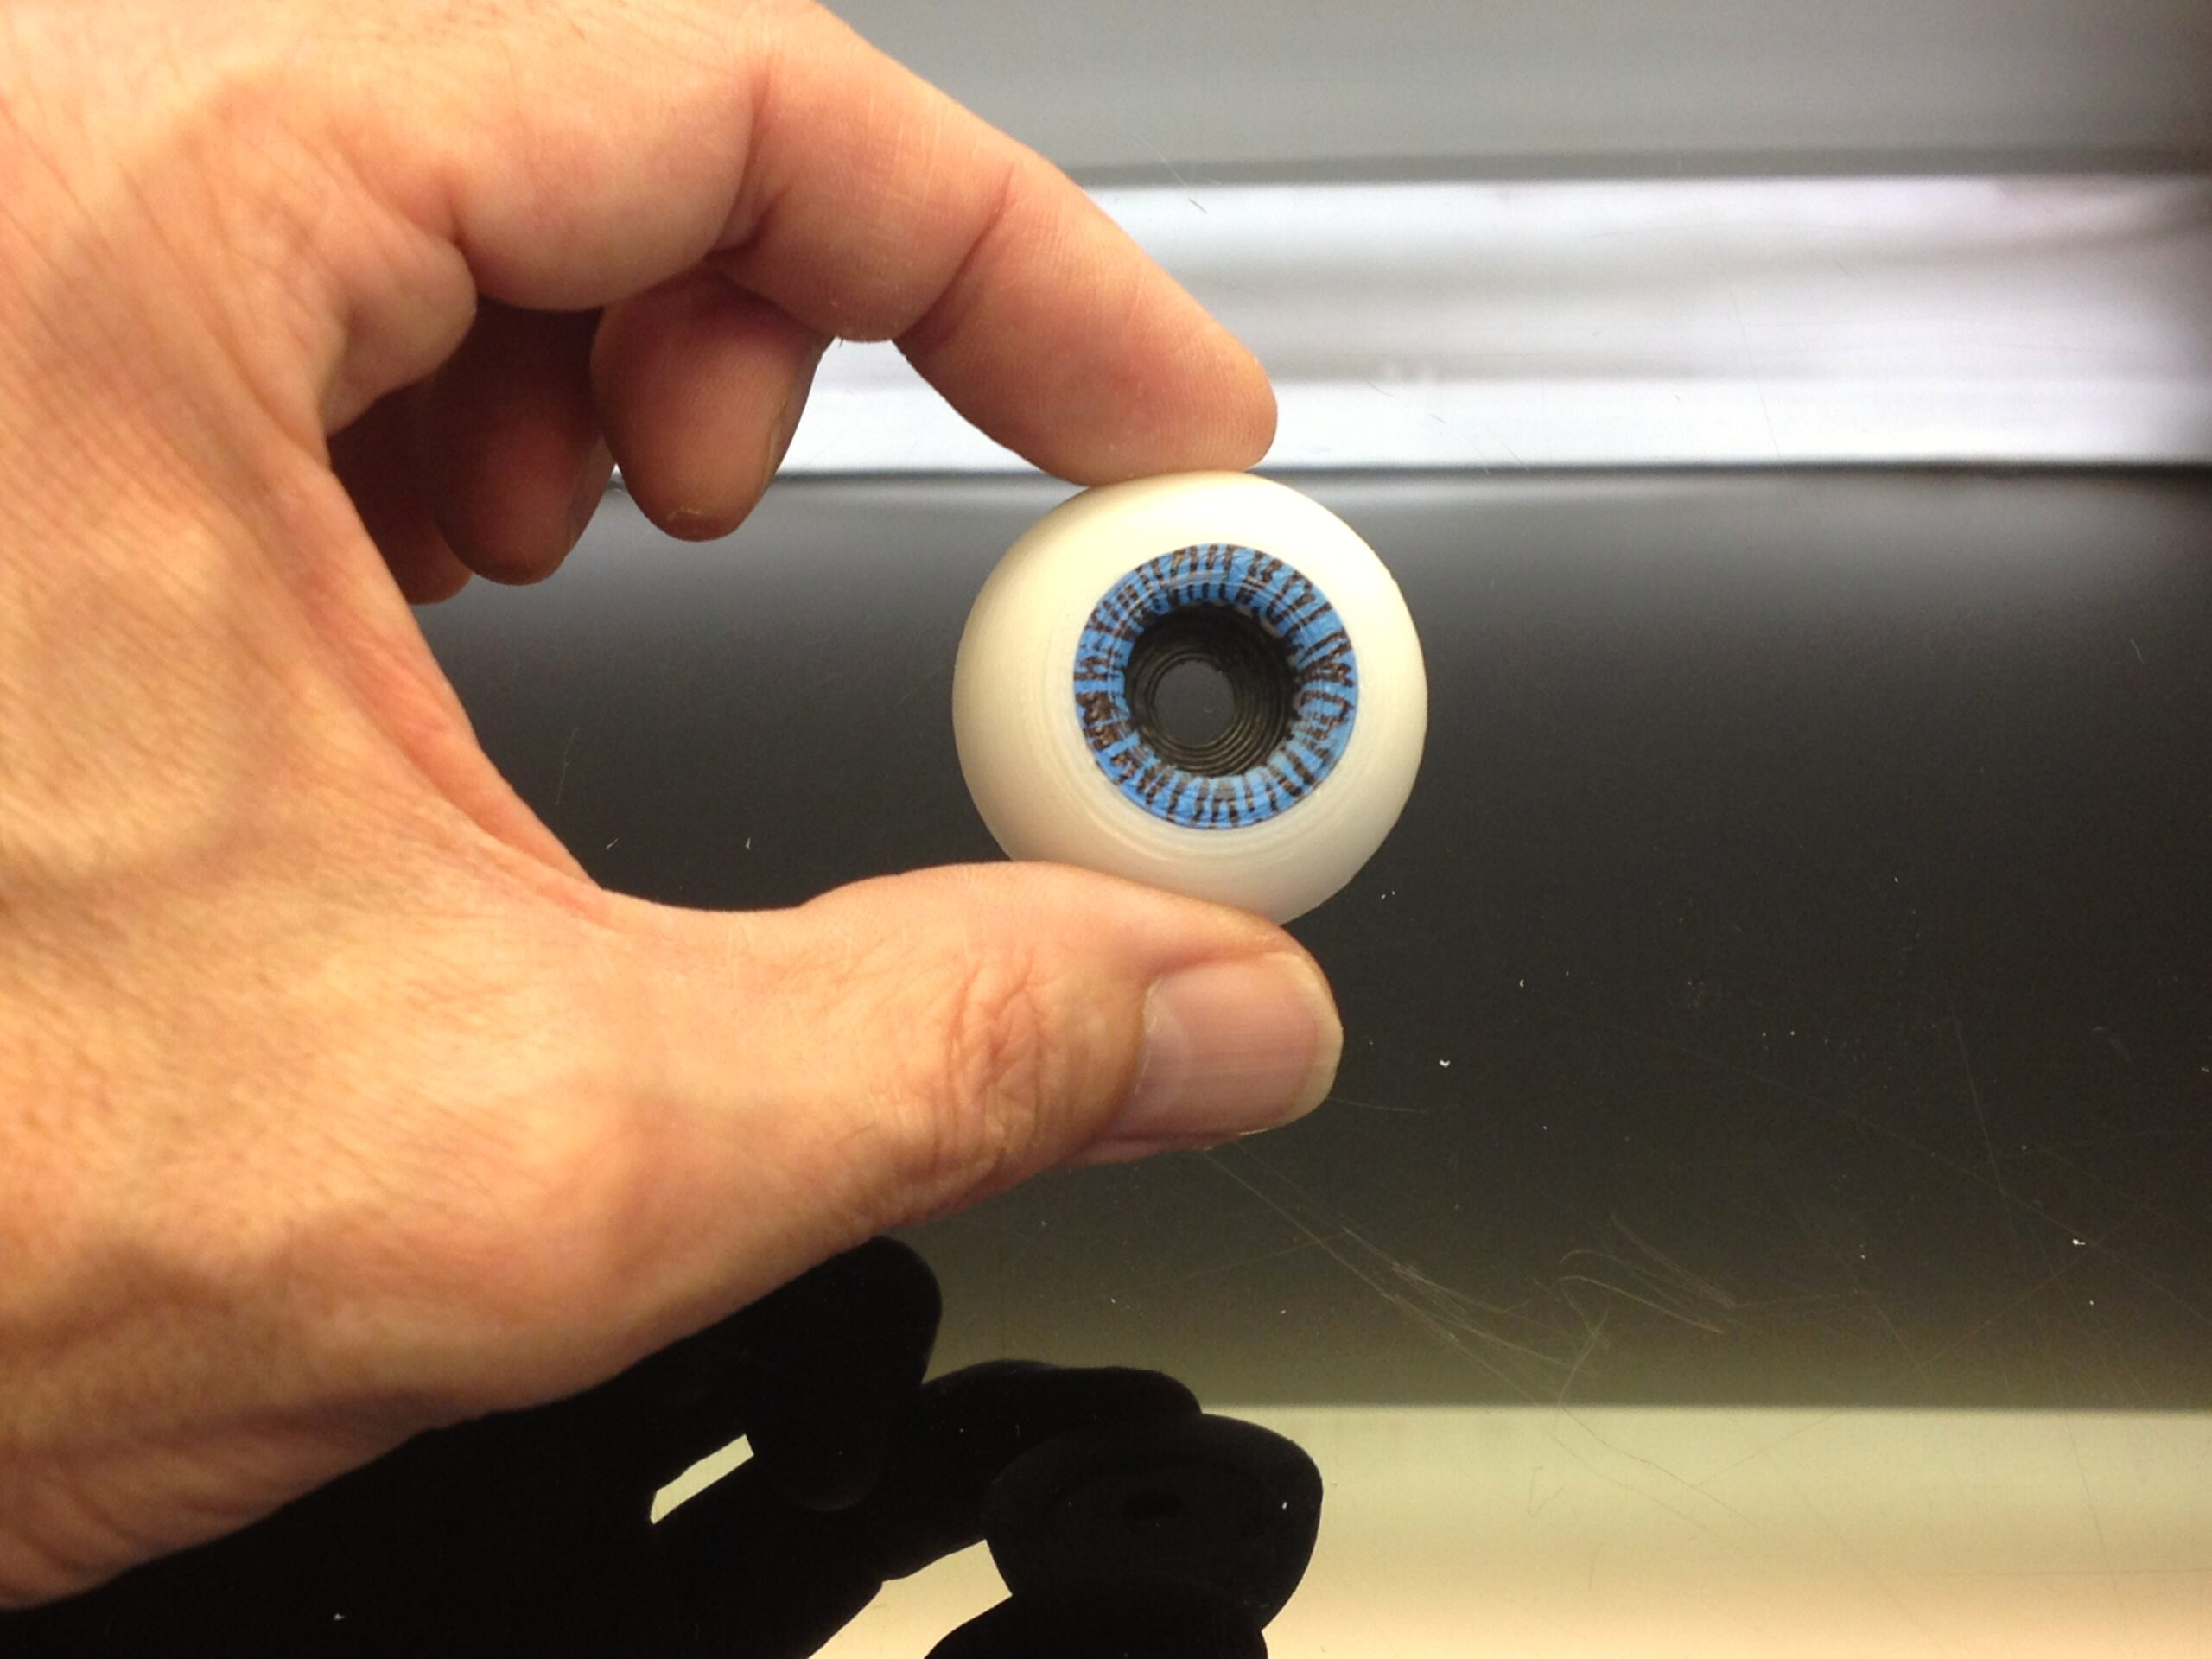
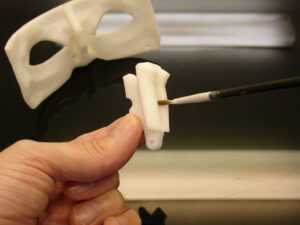
Spray paint or use a colored marker of your choice to create a base on the pupile ring. Add some little lines with your thin marker on this outer ring as well
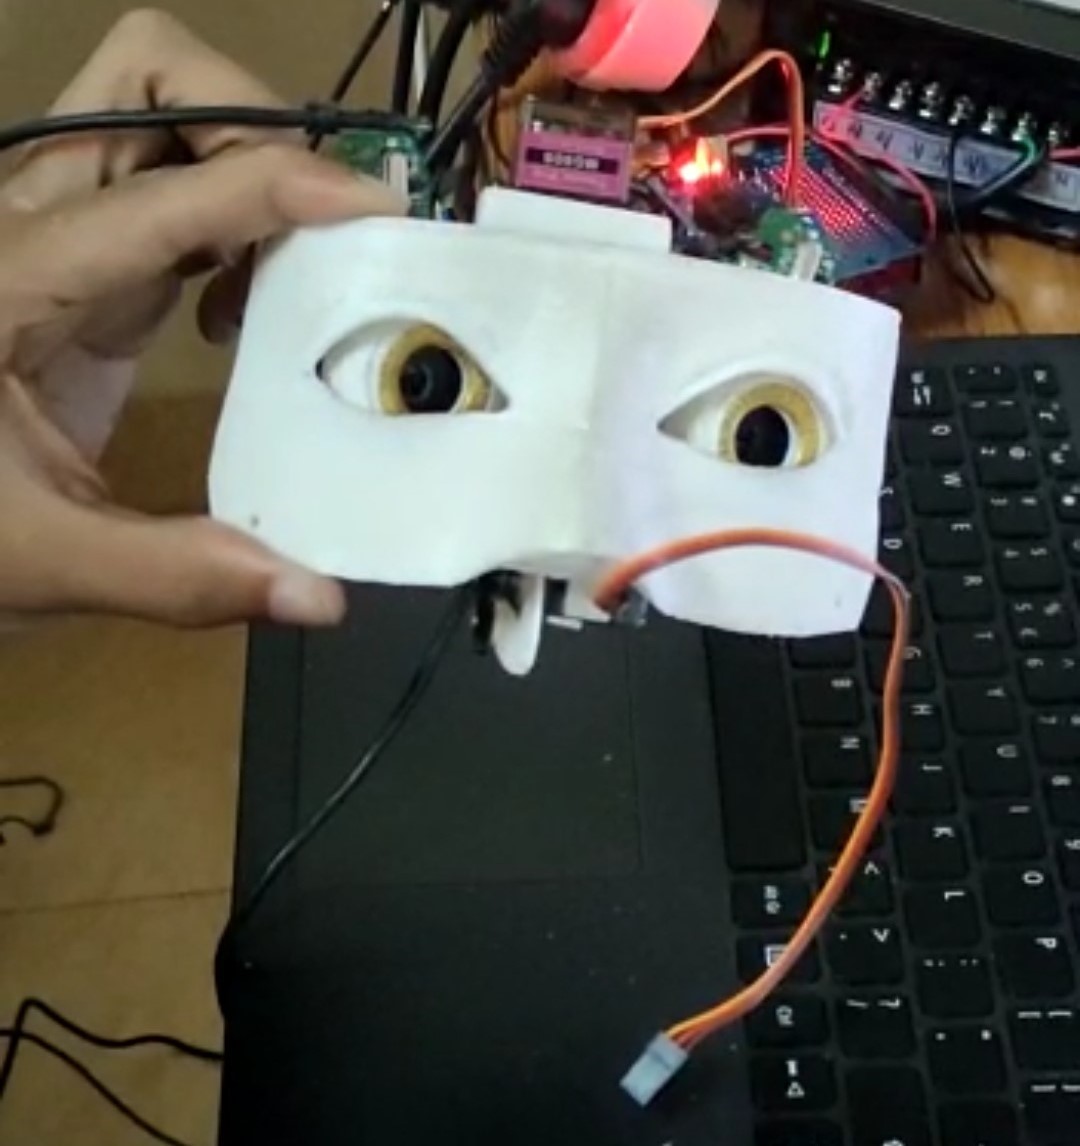
Do the same with the second eye and Mount back the mechanism on the EyeGlass. There you go, you have an impressive looking Eyes!!!
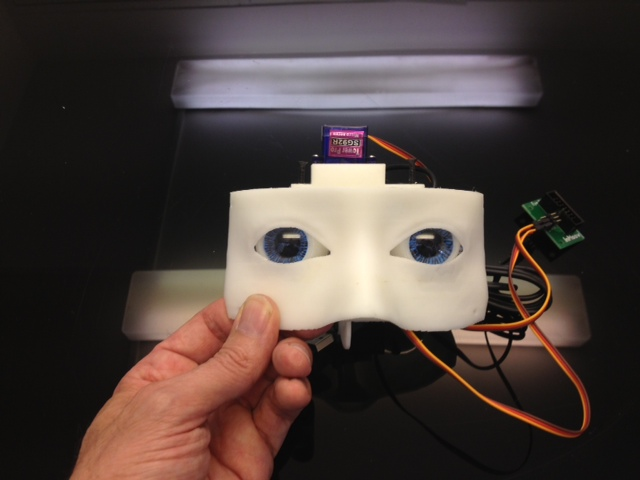
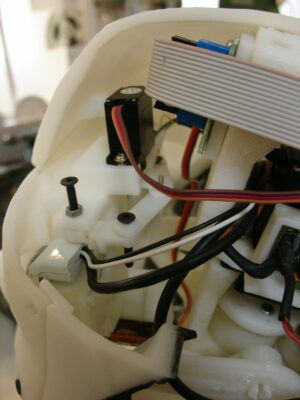
You are now ready to install the whole face and eye mechanism into the head. Make sure no cables are blocking the eye mechanism to rotate in X and Y directions.