Neck and Jaw
Before moving to assemble whole face let us complete the neck and jaw mechanism. An infill of 30%, wall thickness 2.5mm, best with no support (unless specified), use a brim for big parts to avoid warping.
Parts to Print -
- 1x JawHinge
- 1x JawPiston
- 1x JawSupport
- 1x Jaw
- 1x LowBack 6 .1x FaceHolder
- 1x GearHolder
- 1x MainGear
- 1x NeckBolts
- 1x NeckHinge
- 1x Neck
- 1x Ring
- 1x ServoGear
- 1x SkullServoFix
- 1x ThroatHolder
- 1x ThroatHole
- 1x ThroatPistonBase
- 1x ThroatPiston
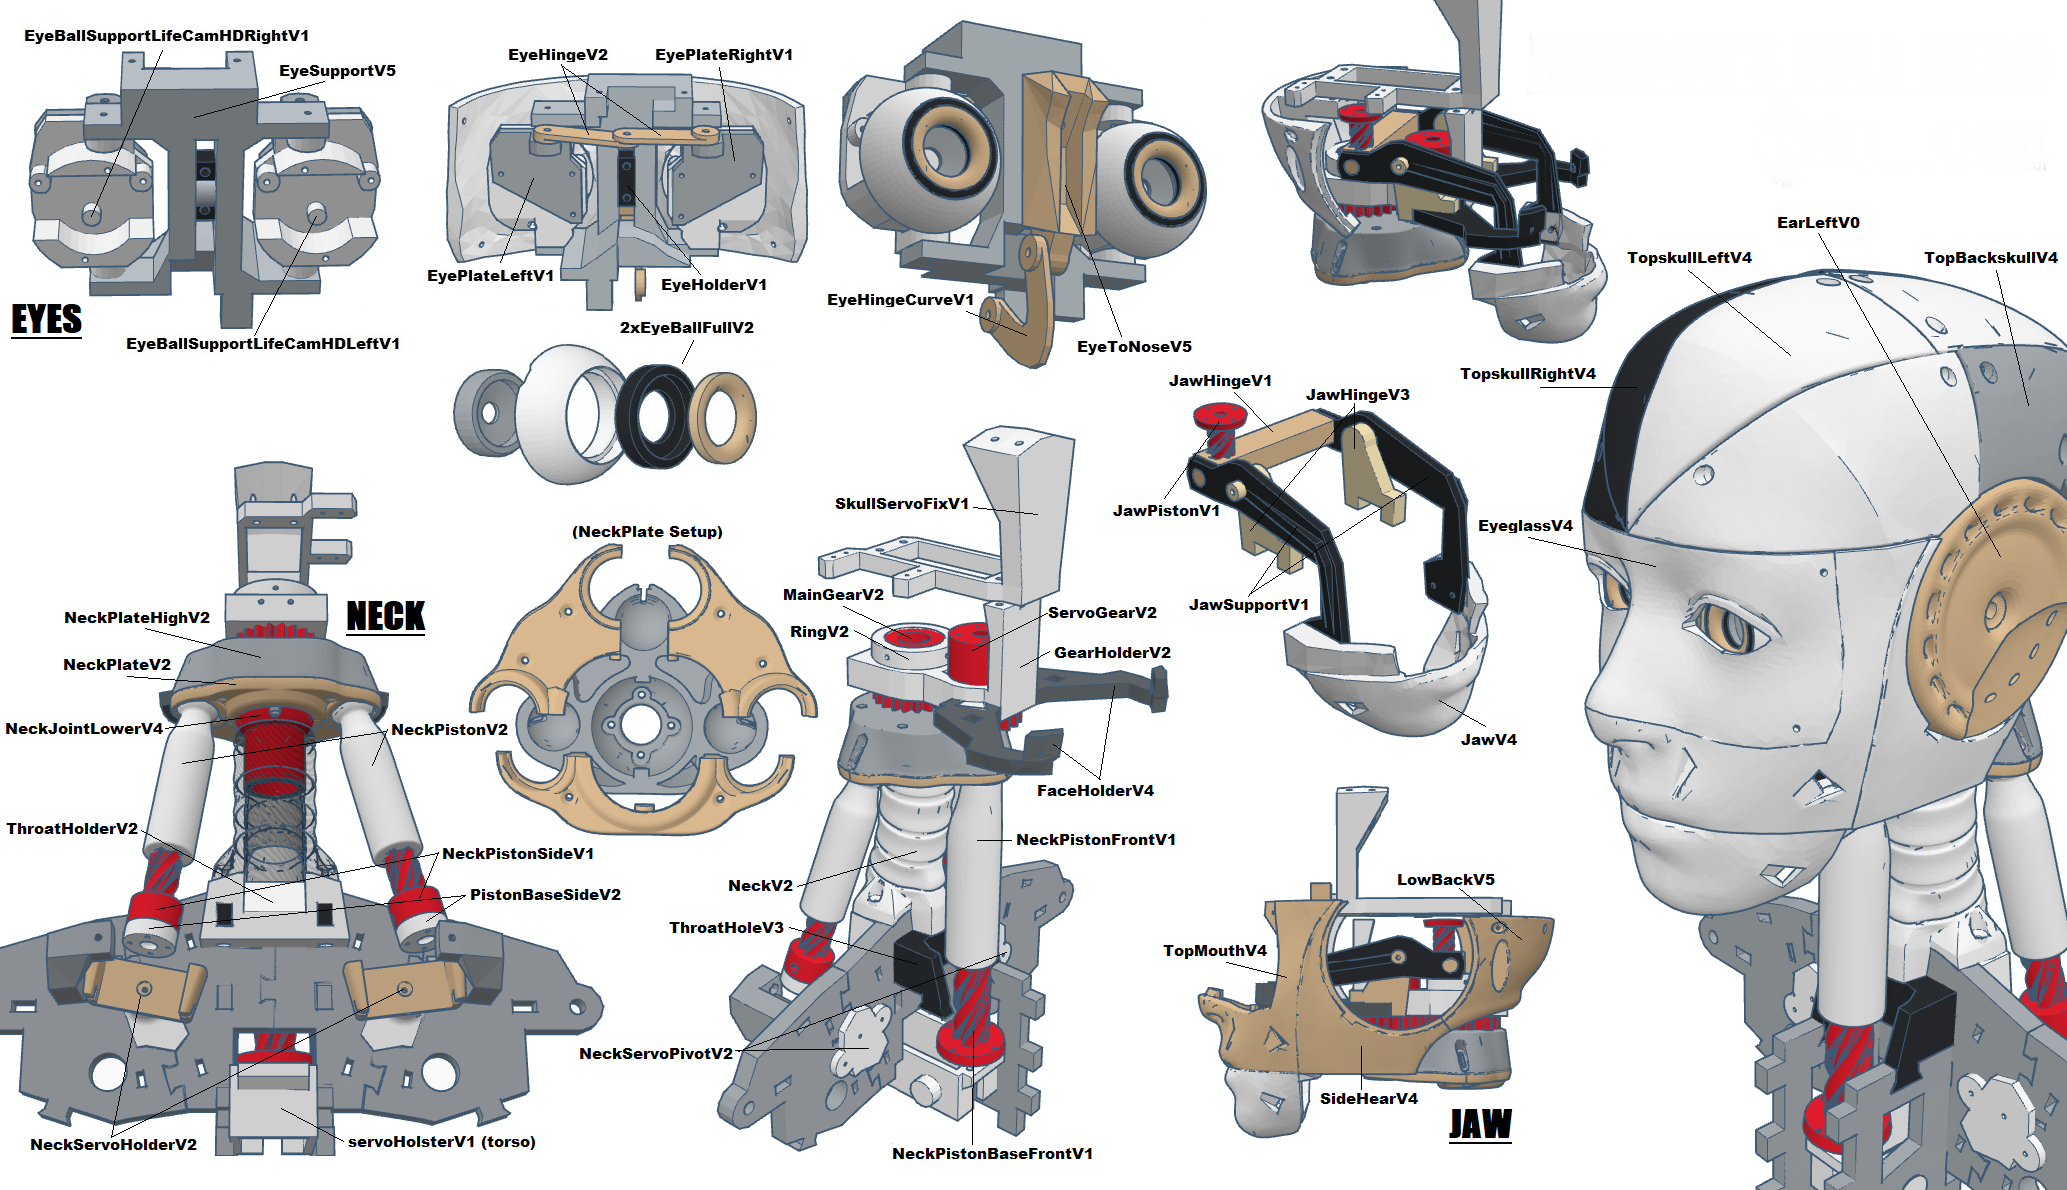
Steps:
Glue or screw “MainGear” to “NeckHinge”

Use “GearHolder” and set “ServoGear” through it. Screw the actuator wheel sold with your servo to “ServoGear”.

Use your Arduino board and set your servo to 90°.
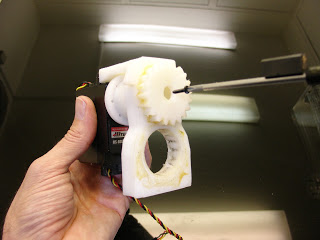
While screwing the turntable don’t change the angle, it should be at 90°.
Mount this assembly to the assembly “MainGear” and “NeckHinge” using some grease to ease the rotation. “GearHolder” should be aligned with “NeckHinge” and your servo should be still at 90°.

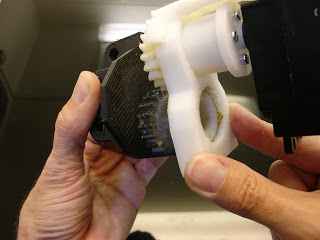
Fix the “LowBackRight” and “LowBackLeft” or “Temporary” to “GearHolder”.This will be the back of the skull.
Screw “Ring” to “MainGear”. Try to avoid slack between parts
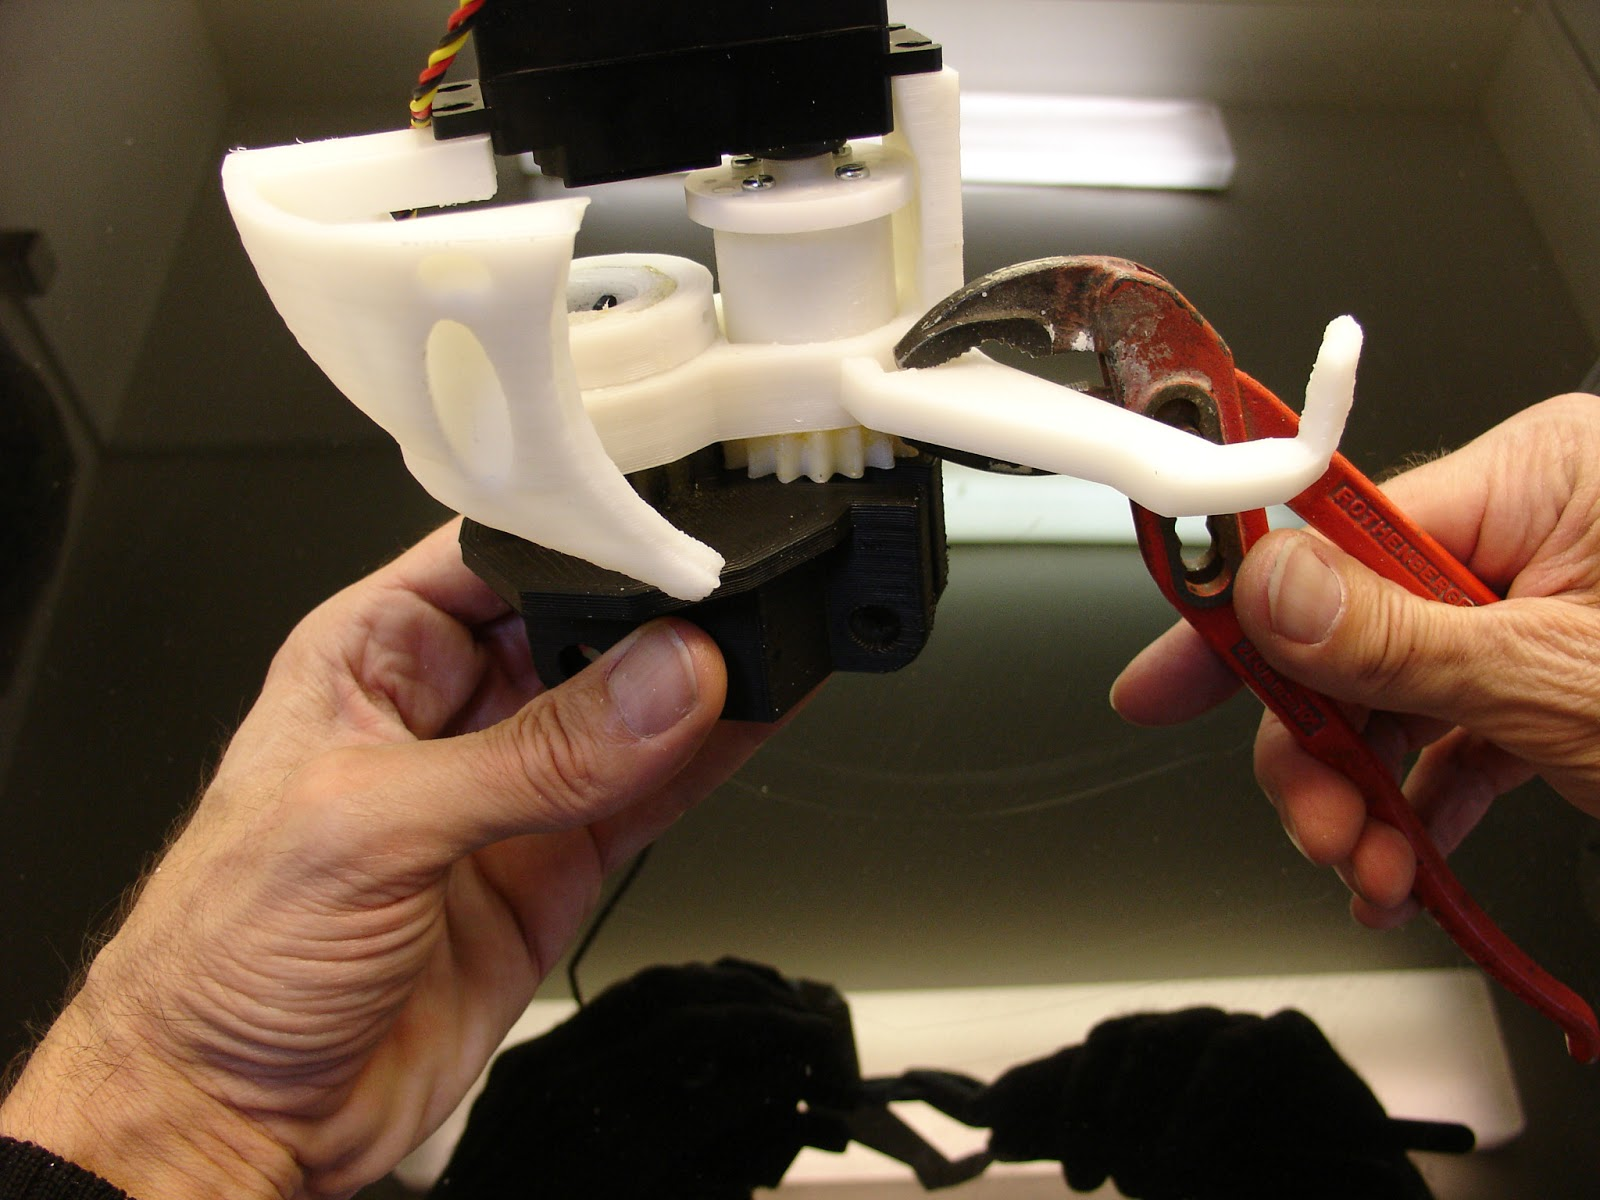
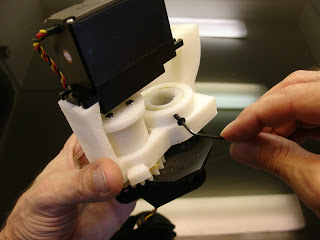
Use your favorite pliers to mount “FaceHolder”. You can mount both of them.
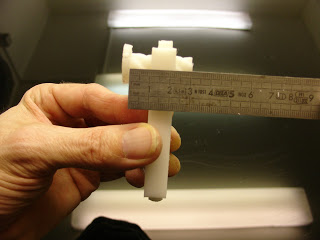
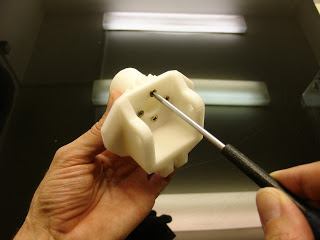
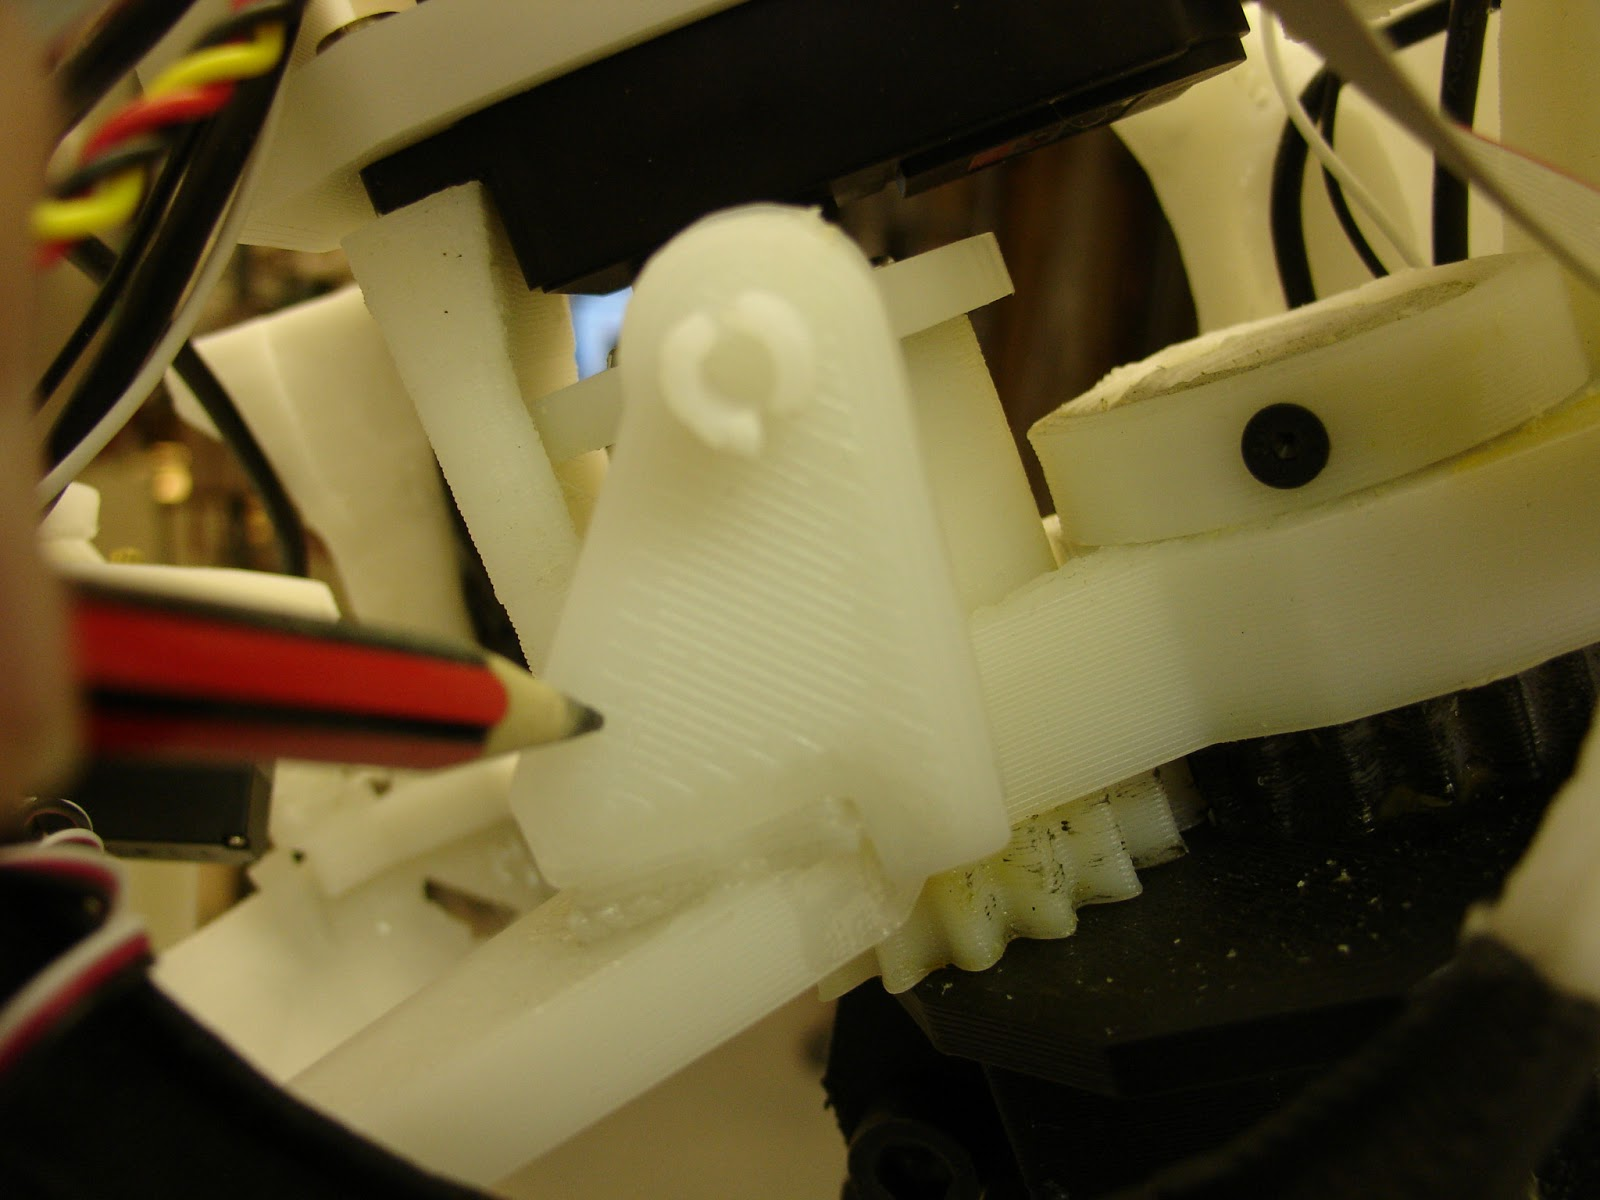
Now lets build the jaw. Take “JawPiston” and turn it inside “JawHinge” until you get 1cm offset between them.
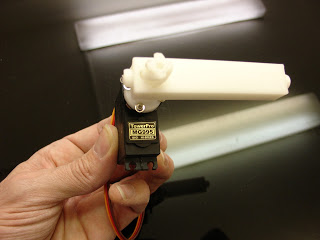
Mount screw, this on the turntable of your MG996R servo set it at 0° with the Arduino board. Keeping the 1cm offset, “JawHinge” should be mounted at a 90° angle compared to the servo.
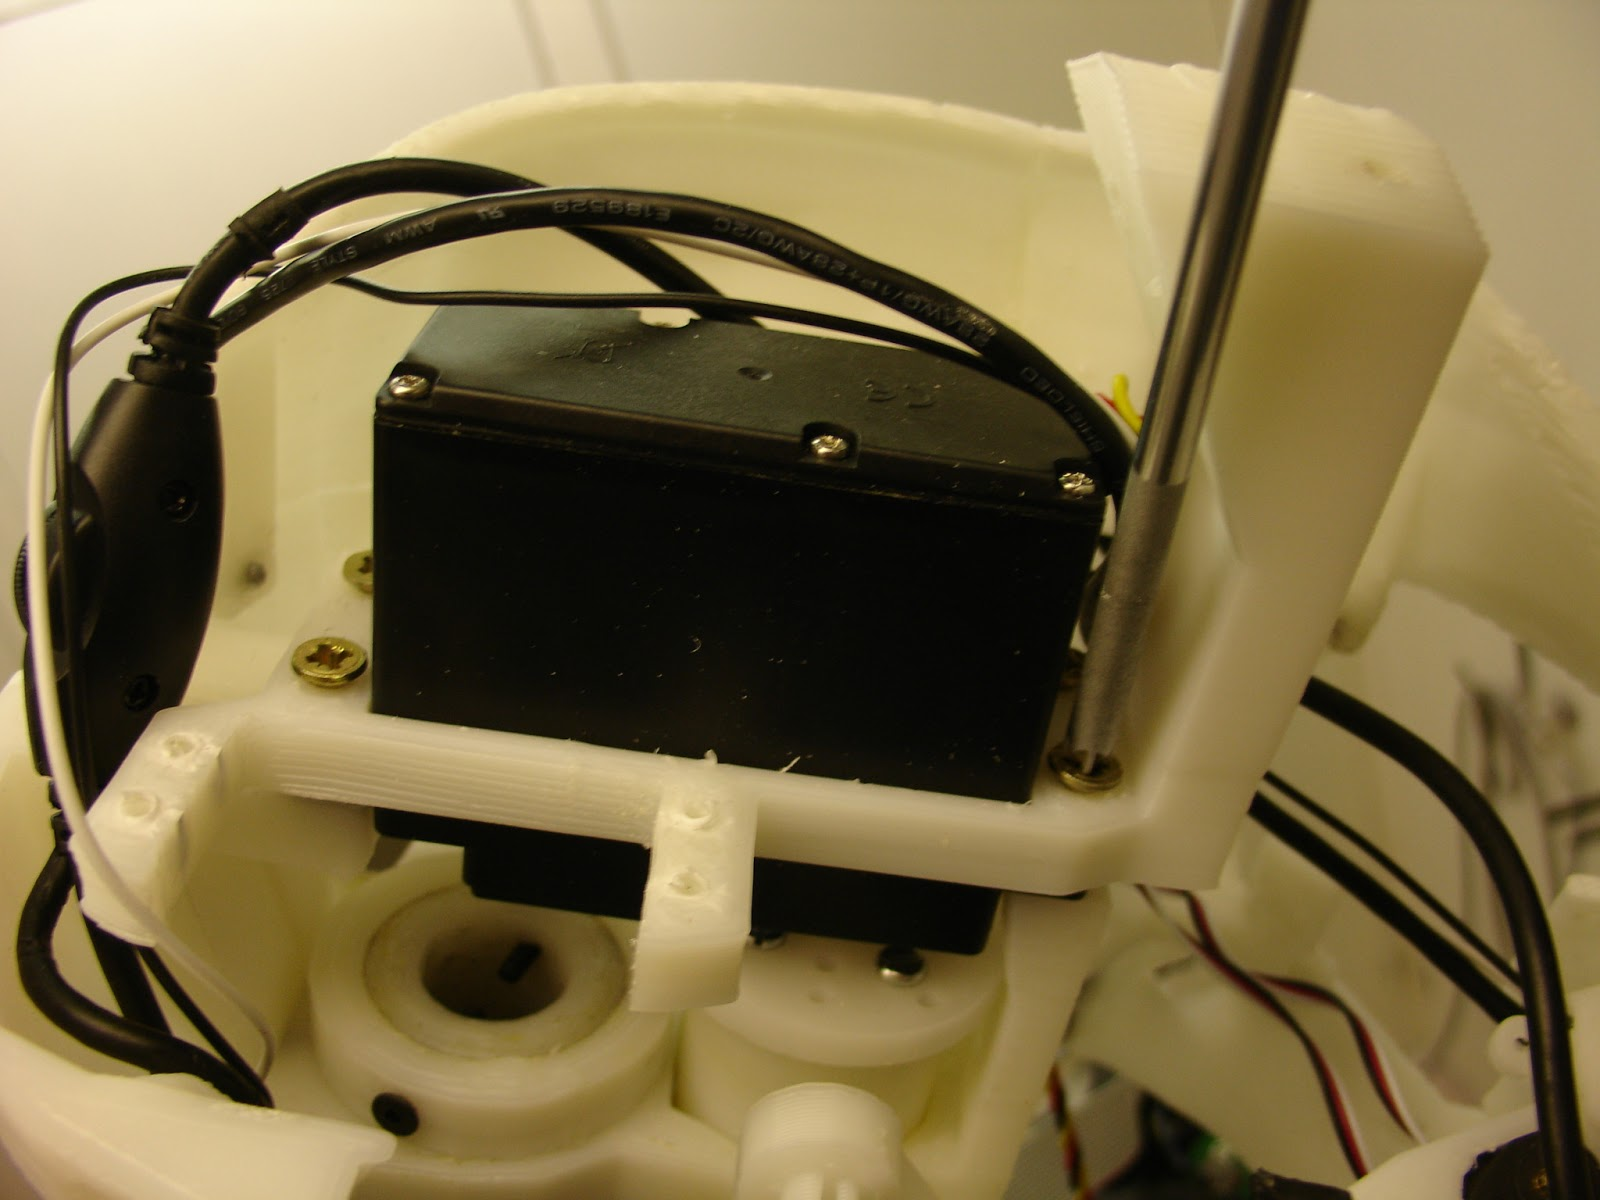
Mount screw “SkullServoFix” over the servo.
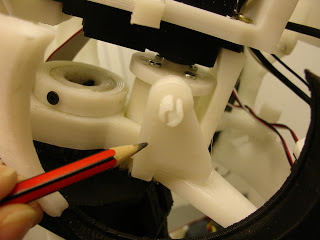
Glue with acetonethe two “JawHolders” on both sides of whole assembly. It comes/fit on the “FaceHolders”
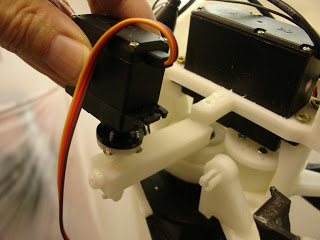
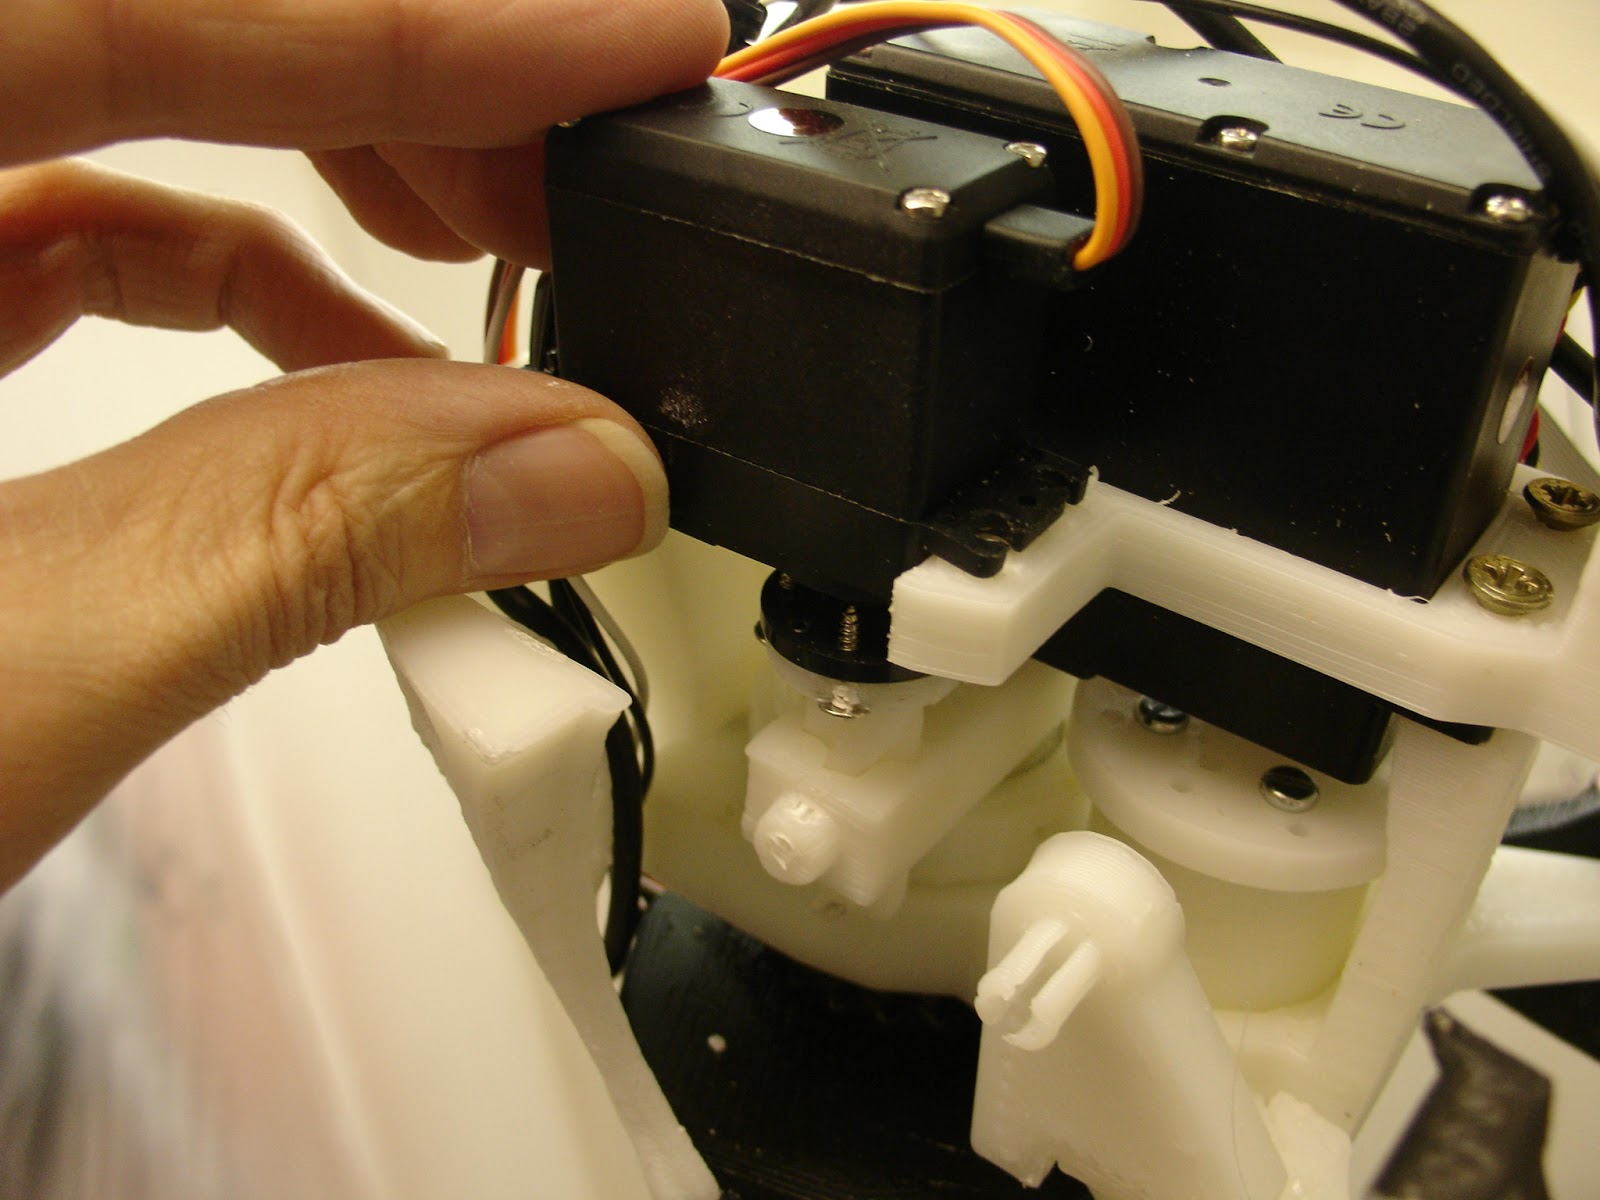
Now take your assembly and slide it through.Put all 4 screws to fix your servo.
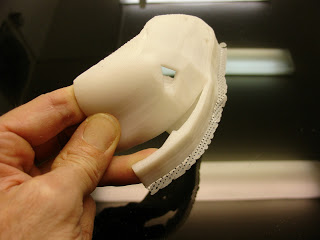
Remove the pre-support from “Jaw”. My “Jaw” shown on this picture is only a half part. It was a previous test print I did. Your “Jaw” is one piece print.
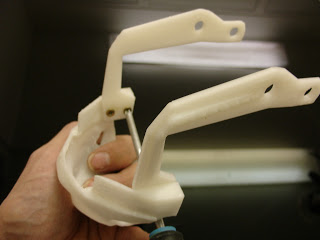
Screw “Jawsupport” to “Jaw”. Make sure the flat surfaces of the “Jawsupport” are on the inside
Fix the jaw support and jaw parts as shown in the picture above
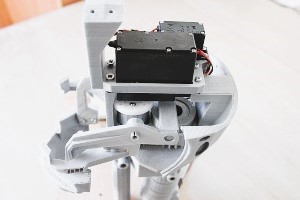
Assemble all the neck parts as shown in the above gif file below and do not forget to apply grease on the pistons and piston holders, it enables the free movement of the neck.
And on the top set the neck hinge parts as shown in the reference pictures above…!!!
img below
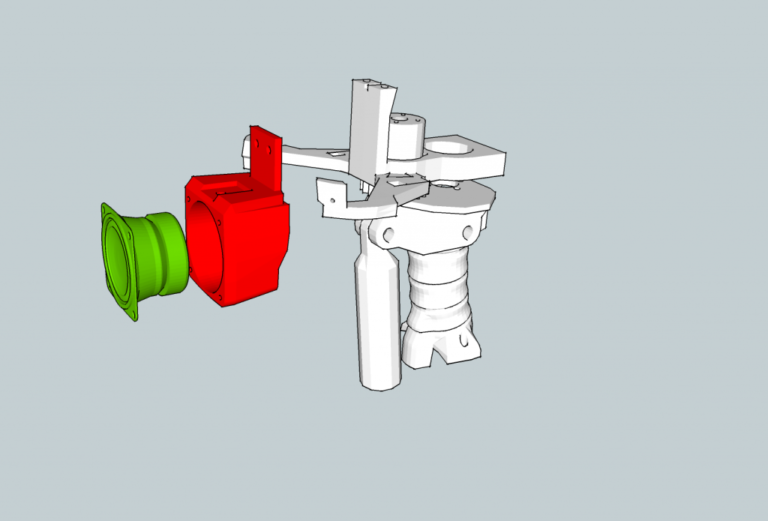
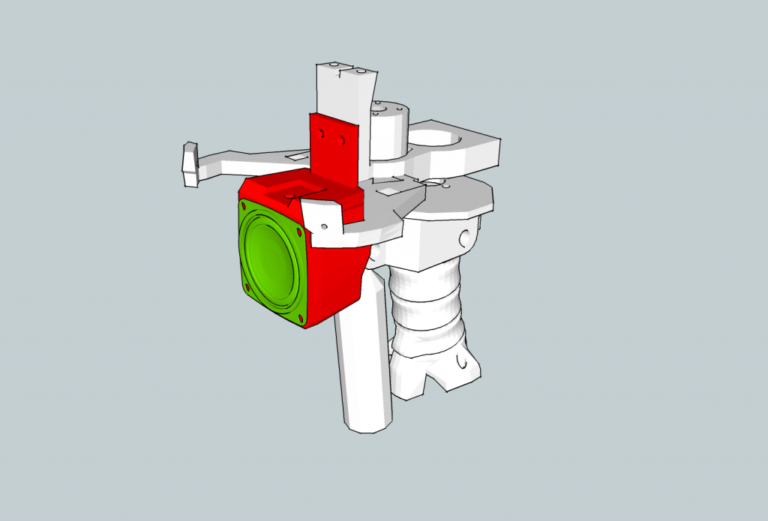
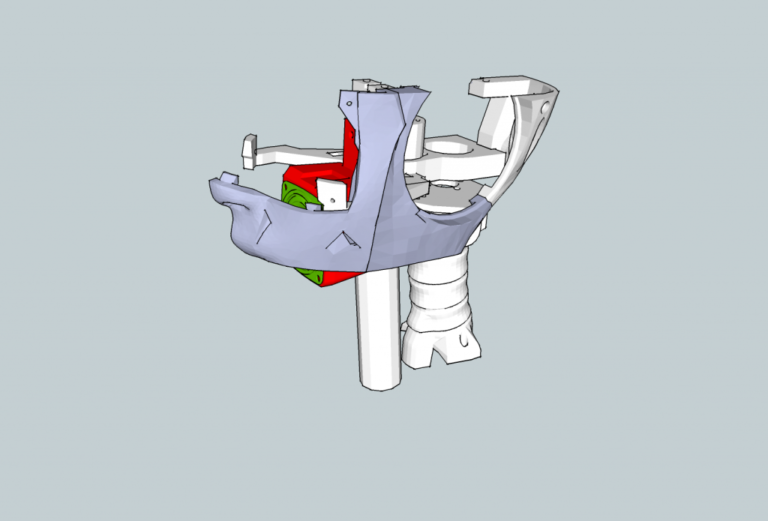
You can drill holders and place speakers around the jaw holder too as shown in figure below